


Thinking about adding a swing to your porch or backyard? What a dreamy idea! A swing adds charming nuances to your home’s aesthetic and gives your family a place to gather for quality R&R.
If you’d like to learn how to hang a porch swing, follow this guide. We’ll walk you through every step for a safe, secure, and stylish setup.
Hanging a porch swing takes a little more time and work than setting up other types of furniture, but the result is worth the effort. To make this a seamless project from start to finish, our in-depth guide includes valuable prep steps and tips, detailed installation instructions for traditional and porch bed swings, and style ideas to give your space the perfect final flourish.
Prep Stage: Get Ready to Hang Your Porch Swing
Before purchasing a new front porch swing, be sure you can confidently answer "yes" to the following questions:
- Do I have the space for a hanging porch swing?
- Do I have a structure strong enough to support the weight of a swing?
- Have I chosen the right outdoor porch swing for my home?
- Do I have the correct mounting hardware?

Sufficient Space
An outdoor hanging swing needs enough room to move freely without bumping into walls or other furniture. We recommend measuring your outdoor space with these dimensions in mind:
- 3–4 feet of distance to both the front and back
- 12–14 inches of clearance on either side
- Mounting hardware placed 4–6 inches wider than a traditional swing’s arm-to-arm length
- Porch swing seats hang 17–19 inches above the floor; daybed seats hang 10–12 inches off the floor
A Sturdy Structure
From your porch ceiling to a patio pergola, your chosen structure must be able to safely hold the weight of the swing and anyone who uses it. A load-bearing beam or ceiling joist will work perfectly. The joist needs adequate support on both ends and should be on the thicker side—2x6 or 2×8.
NOTE: We don't recommend using a tree as a backyard swing support structure for two reasons:
- The bark of the supporting tree limb can grow around the swing chains and eventually over them entirely. At this point, the only way to remove the chain links is to cut them out with a saw.
- The back-and-forth movement of ropes and chains can rub away the bark over time, weakening the wood and leaving it vulnerable to wood-boring insects and fungi.
Select Your Swing
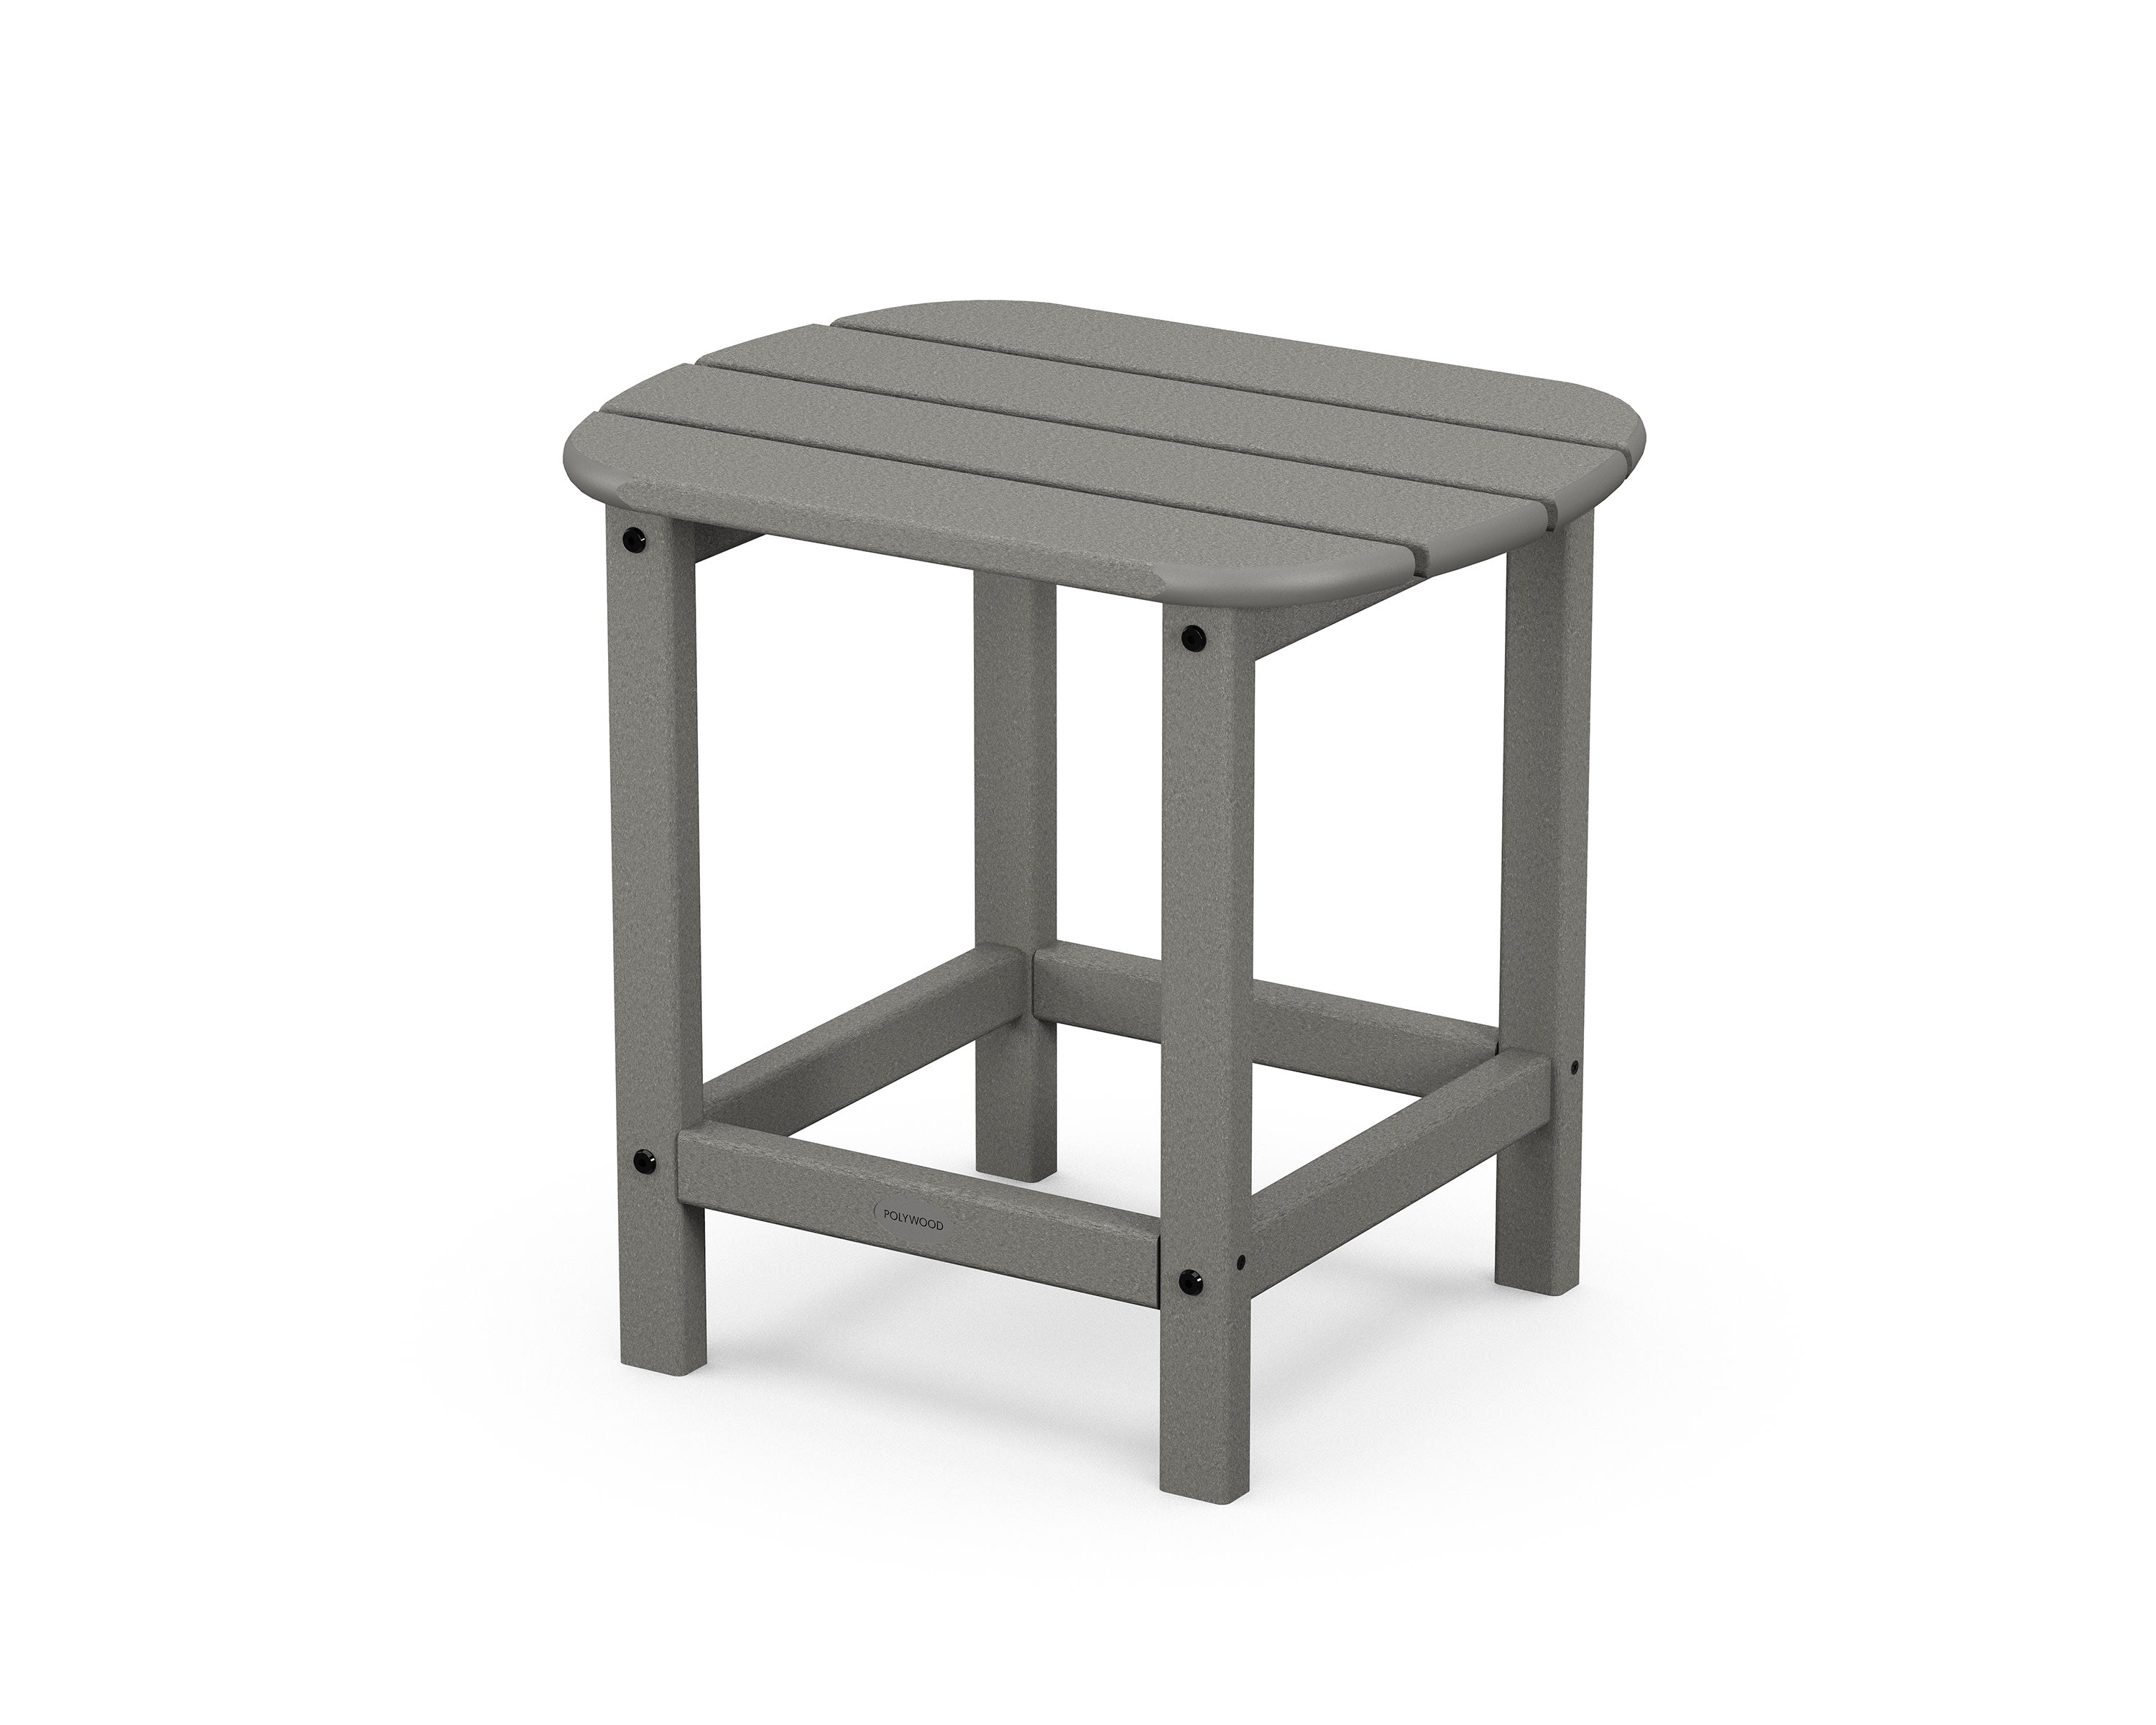
To find the perfect outdoor hanging swing, prioritize the aforementioned space and structure requirements. Otherwise, you might choose something too big or too heavy. You can skip this part if you already have the right swing for your space. If not, it's time to start shopping. Use our guide to help narrow your search and choose the best piece for your home.
Choose the Right Mounting Hardware
You may need to purchase mounting hardware separately from your swing. Because all structural supports are different, we suggest talking to a carpenter or hardware professional to find out what you need, including steel chains, ropes, porch swing hangers, swivel-type hanger mounts, and connectors.
Installation Stage: How to Hang a Porch Swing From POLYWOOD
Watch our instructional video to learn how to mount an outdoor hanging swing, featuring our best-selling Vineyard 60" Porch Swing.
If you prefer written instructions, we've broken down the method into three phases.
Supplies Needed
- Adjustable wrench
- Tape measure
- Ladder
- Friends to help
All POLYWOOD porch swings come with zinc-coated galvanized steel chain kits that include:
- (4) 5-foot sections of chain
- (4) eye bolts
- (6) quick link chain connectors
Phase 1: Attaching the Chains
- Four eye bolts are attached to your swing—two mounting points on either side. Grab a chain section and thread one end through the prefabricated hole at the front of the swing's armrest.
- Use a quick link fastener to secure the end of the chain to the eye bolt located directly below the hole on the side of the seat.
- Connect the other end of the chain to the eye bolt located at the back of the armrest.
- Repeat Steps 1–3 on the other side of the frame.
- Attach one end of a remaining chain section to the center link of a chain already connected to the swing. (It should look like an upside-down Y shape.)
- Repeat Step 5 on the other side of the frame.

NOTE: Not all POLYWOOD porch swings have prefabricated armrest holes, and eyebolt locations may vary. For the most accurate information, see the assembly instructions for your specific swing model.
Phase 2: Hanging the Swing
- Use your tape measure to find the appropriate chain length from the mounting hardware to the swing, ensuring it hangs at the correct height from the floor.
- Have a friend help you lift the swing and hold it steady while you use the two remaining quick links to connect the ends of the two chains to the mounting hardware.
- (Optional): Adjust the seat's pitch by moving the fasteners that hook to the middle of the chains forward or backward one or two links—just make sure that the links are in the same positions on both sides.

Phase 3: Check Your Work
- Make sure all hardware connections are secure from the overhead support beam to the bottommost eye hooks.
- Use your wrench to double-check that quick links are completely screwed closed.
- Ensure the height and recline are to your liking (and the chains are the same length on both sides).
- Test your swing’s stability and anchoring by slowly adding weight to the frame, pushing it back and forth, and giving it a few firm tugs. If it wobbles while swinging, sits unevenly, or shifts position with added weight, recheck your work.
Installation Stage: How to Hang POLYWOOD Porch Bed Swings
Watch our instructional video to learn how to install a POLYWOOD porch bed swing in your home, featuring our Vineyard Daybed Swing.
We’ve also written out the instructions for this method into multiple phases.
NOTES:
- Hanging a daybed swing is an advanced project, and professional installation is recommended.
- POLYWOOD daybed swings can fit structures up to 16 feet tall.
- As ropes and knots stabilize, it's completely normal for seats to lower a few inches over time.
Supplies Needed
- Stud finder
- Pencil
- Tape measure
- Power drill
- 3/16 drill bit
- Socket wrench
- 3 3/4" socket
- Knife
- Lighter or small butane torch
- Level
All POLYWOOD daybed swings come with hardware packs that include:
(4) hanging brackets
(8) 2.5” hex lag bolts
(8) washers
(2) unmanila ropes
Phase 1: Installing Mounting Hardware
The brackets will each hold up a corner of your daybed, so install them to fully load-bearing 2x6 (or larger) ceiling joists in a rectangle that’s 78 ¼ inches long and 34 inches wide.

- If your ceiling joists are covered, locate them with a stud finder and mark the areas with your pencil.
- Measure the correct distances between brackets and trace their locations, including pilot holes.
- Drill 3/16” pilot holes for all eight 2 ½” lag bolts in their marked locations.
- Place washers on all lag bolts, hold brackets up in their marked locations, then secure them in place by screwing the lag bolts into the pre-drilled holes with the socket wrench.
Phase 2: Hanging the Porch Bed Swing
Position the daybed directly beneath the brackets, propping it up evenly on cinderblocks or similar supports.
Route the loose end of one rope through a front bracket until the pre-tied knot fits taut against it.
Feed the rope through the pre-drilled holes in the front of the daybed’s armrest and seat below the bracket.
- At the back of the armrest on the same side of the frame, feed the rope up through the bottom and top pre-drilled holes, and then the back bracket directly above.
- Repeat Steps 2–4 on the other side of the frame with the remaining rope.

Use your level to make sure your daybed sits evenly.
Pull one of the ropes taut and tie a simple overhand knot in the loose end as close to the bracket as possible. Repeat this process with the remaining rope on the opposite side.
Cut off excess rope with your knife, leaving 2–3 inches. Melt the ends with a lighter or torch to prevent fraying.
Remove the supports from beneath the daybed and add the seat cushions.

Phase 3: Check Your Work
- Double-check that your support structure can hold the weight of the swing and anyone who uses it.
- Check that your lag bolts are fully screwed into the brackets.
- Ensure ropes are adequately secured and not torn or frayed anywhere along their length, and that ends are fully heat-sealed.
- Slowly add weight to the porch swing and push it back and forth. Give it a few firm tugs to test its stability and anchoring. If the swing wobbles, sits unevenly, or shifts position, recheck your work.
Style Stage: Add Some Personality
The hard work is over, and now comes the fun part: decorating your new swing and the space around it. We have some inspiration-sparking ideas to share on the subject.
For Small Spaces
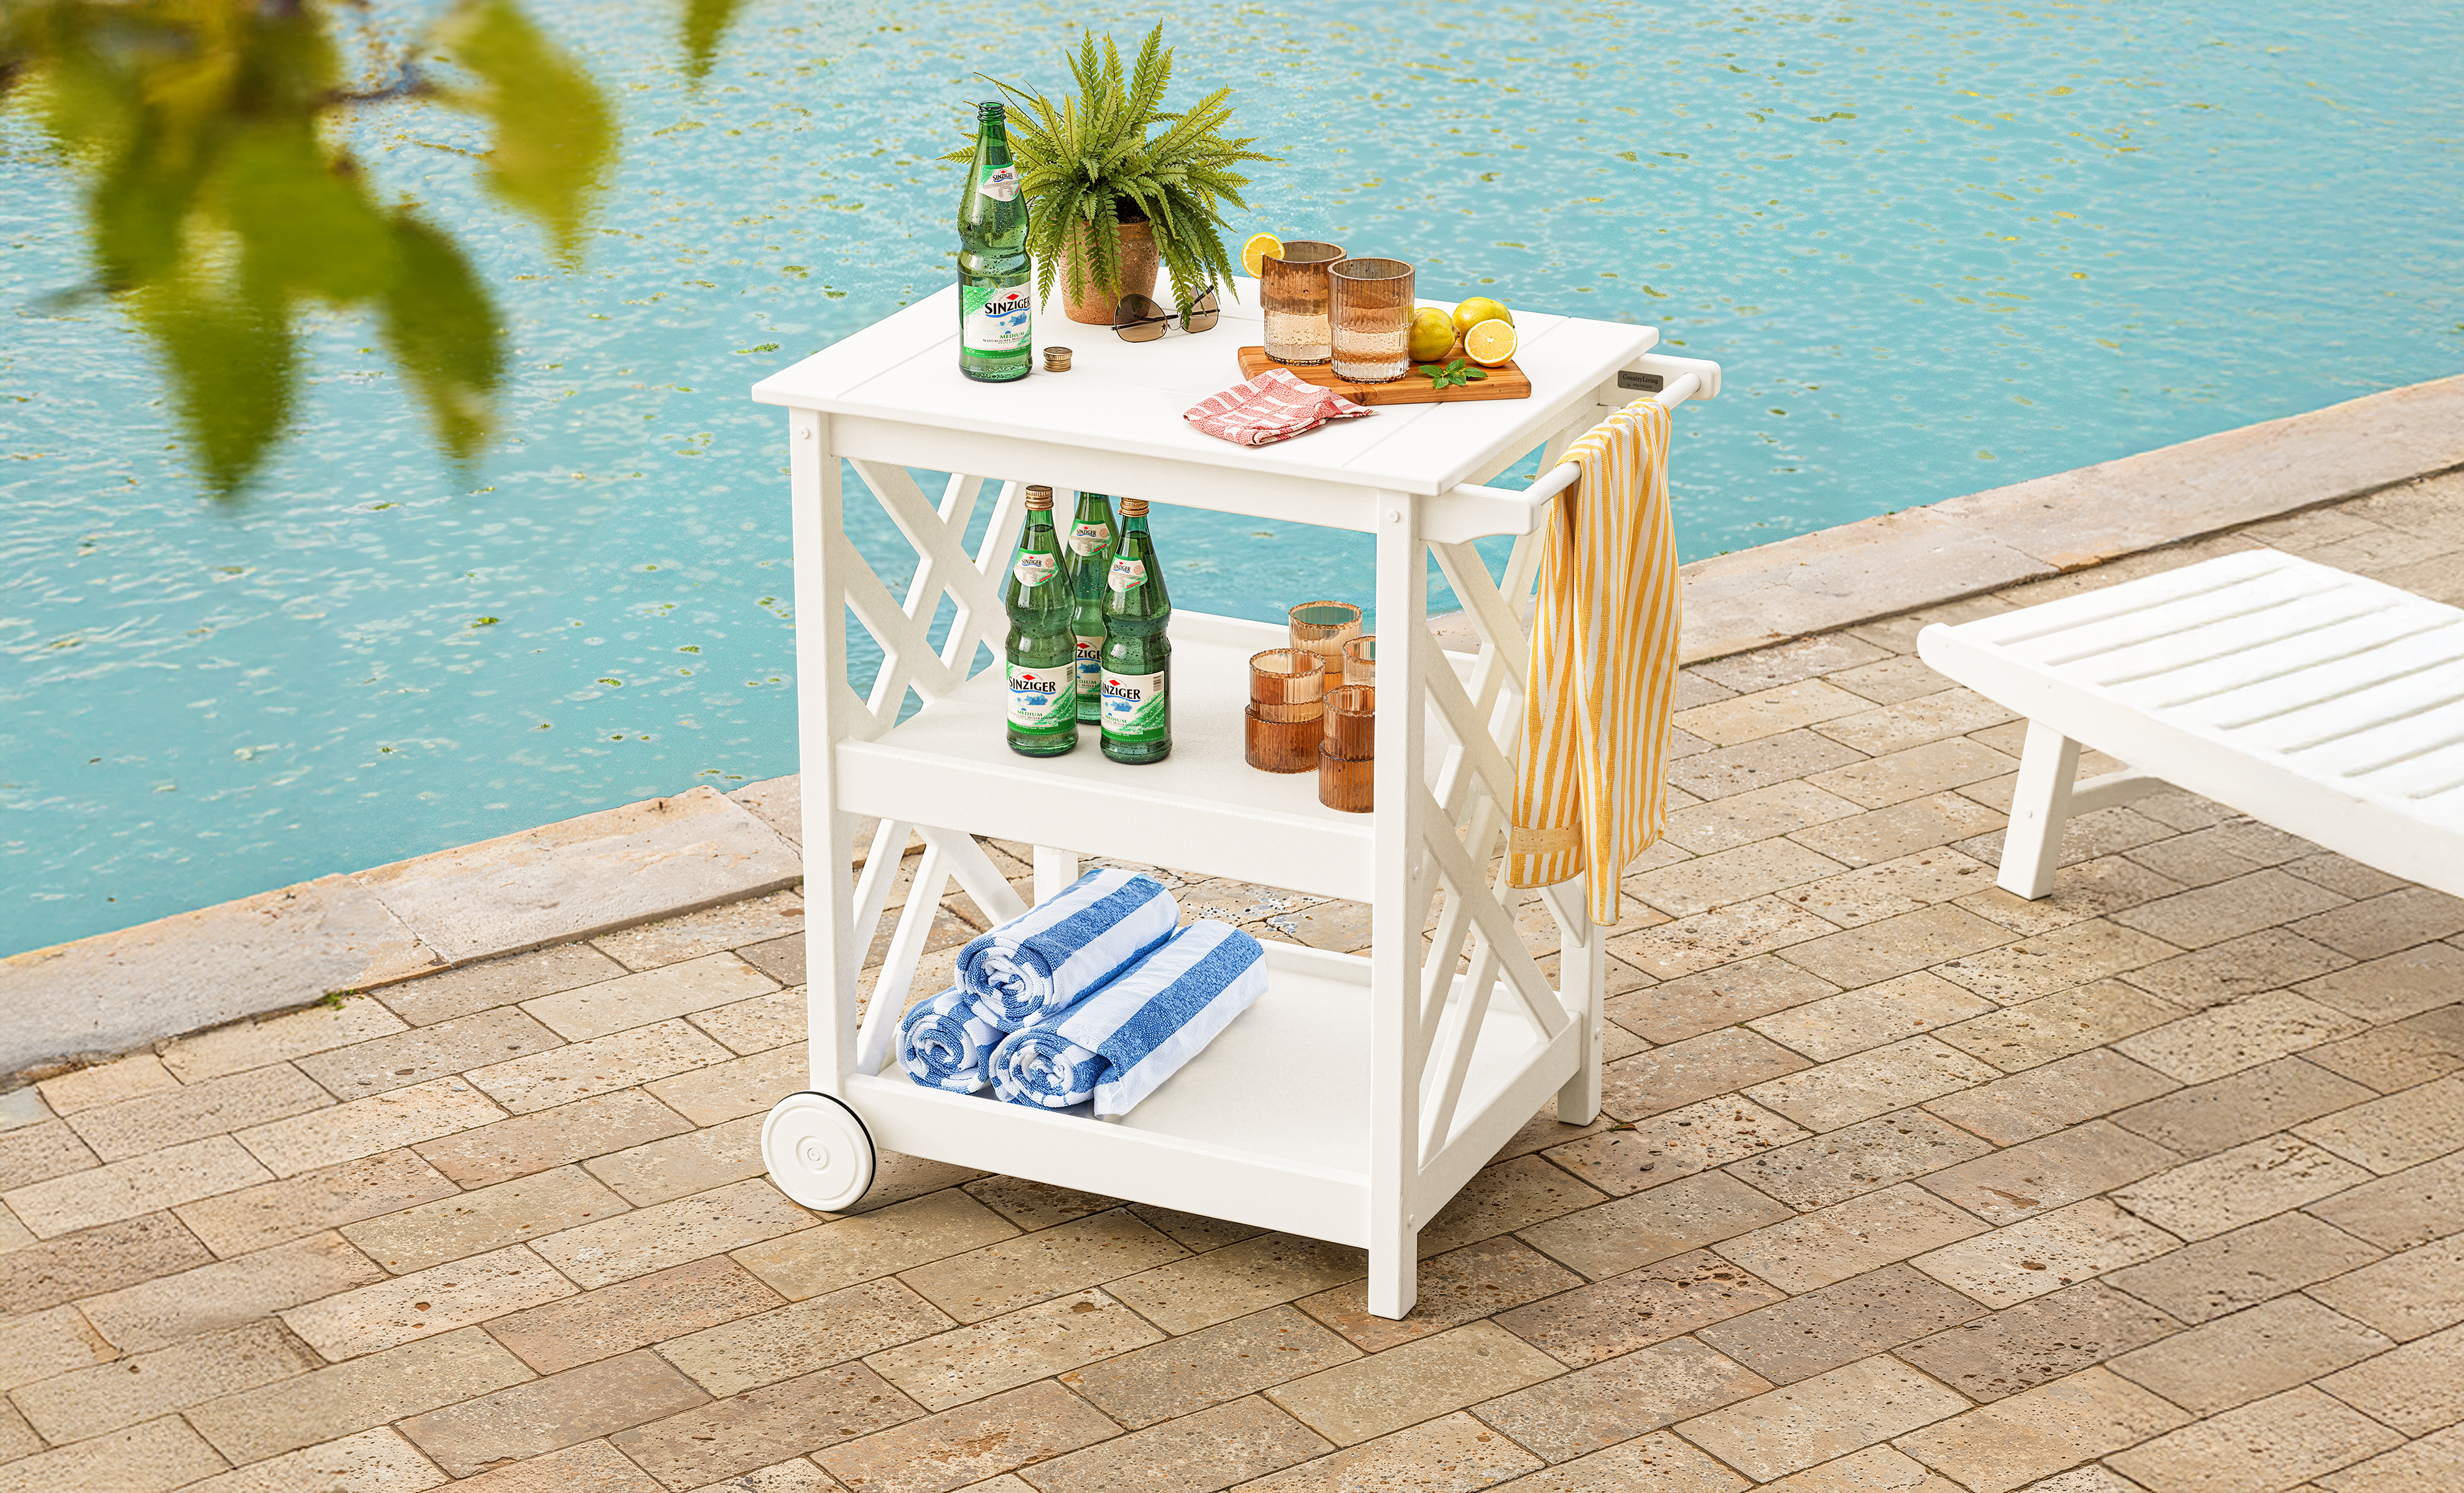
Make the most of a cozy backyard by choosing a smaller swing that seats two, and surround it with decor that doesn't take up a lot of real estate, such as an outdoor rug or a vertical garden.

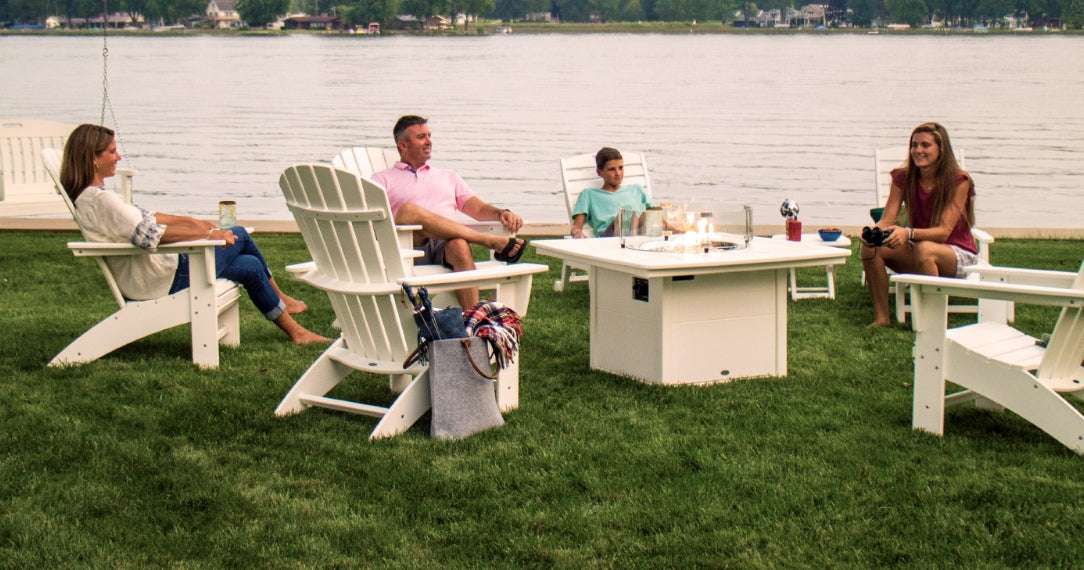
For Large Spaces
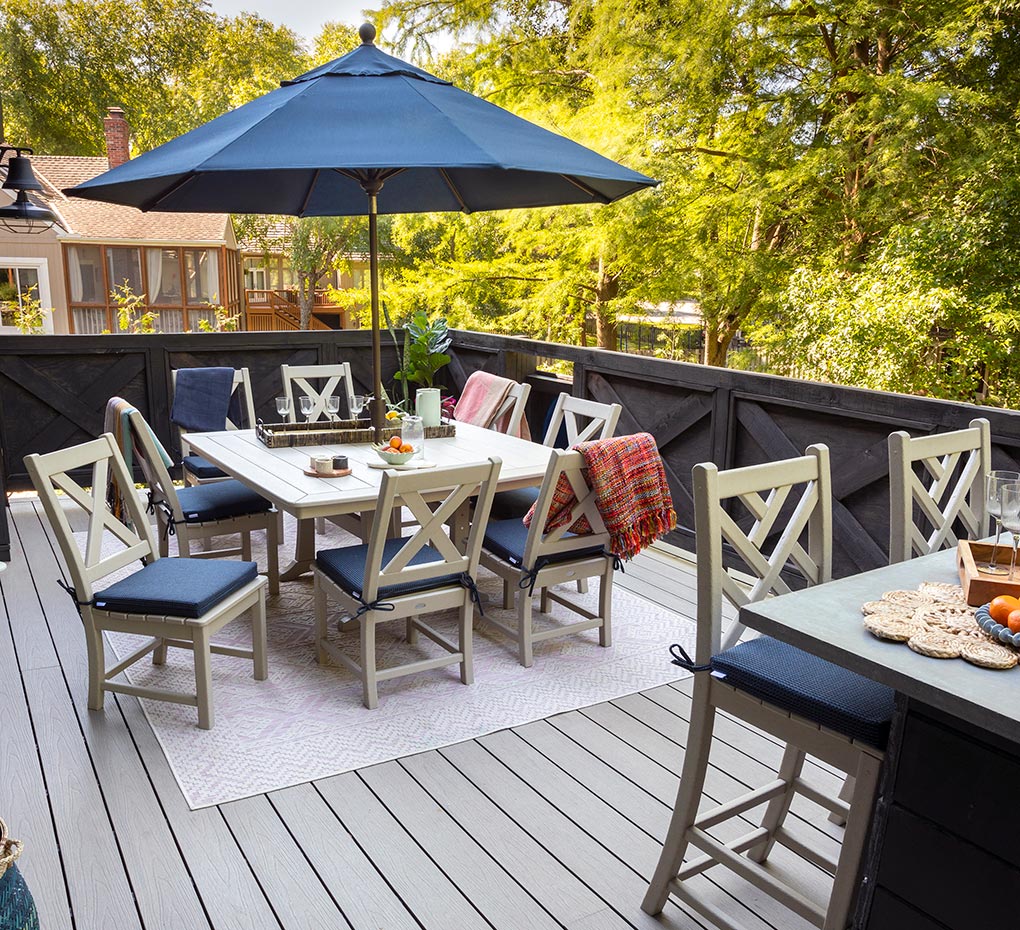
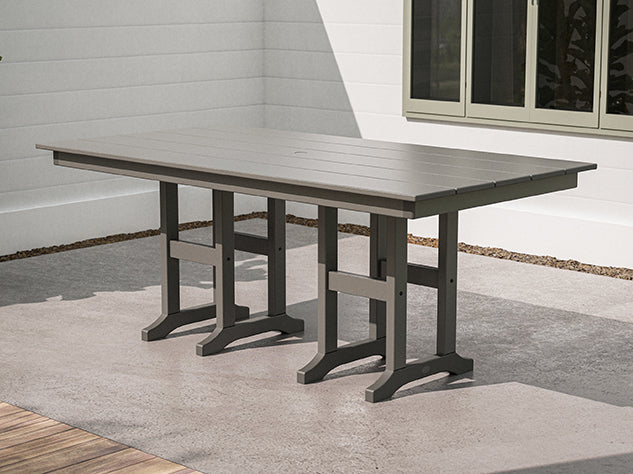
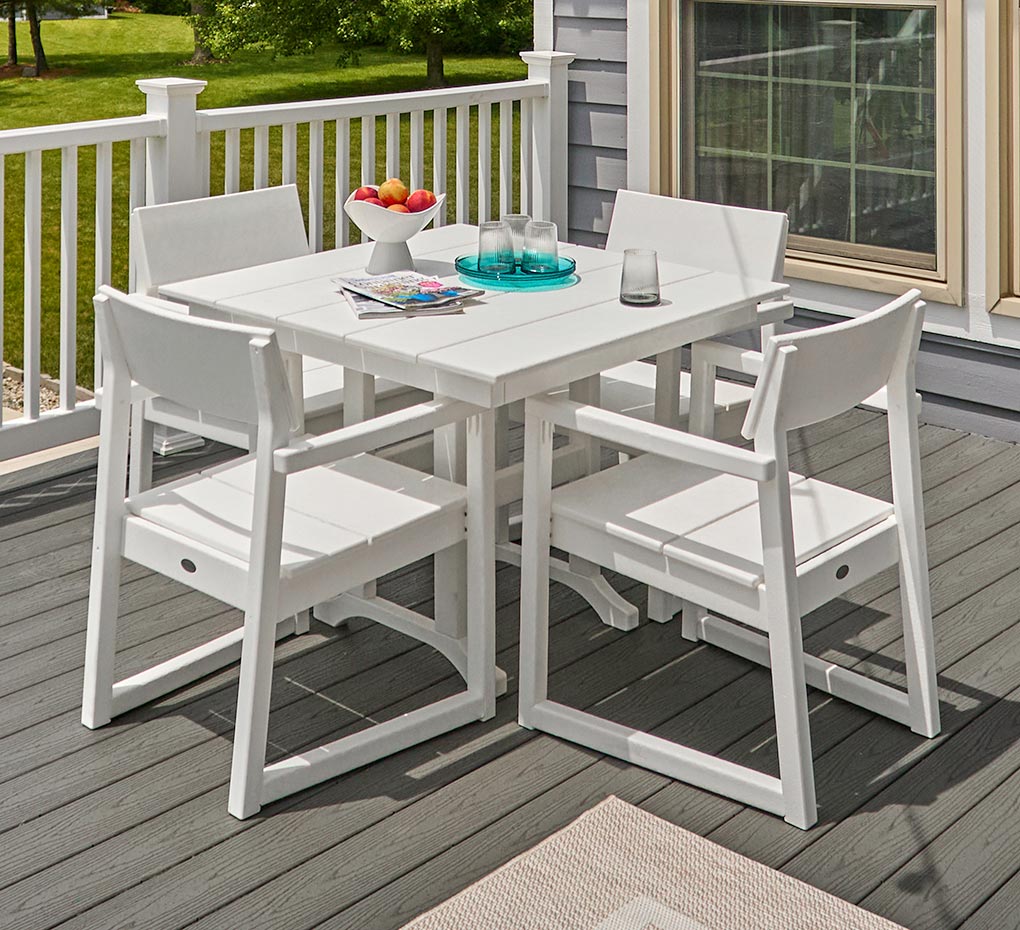
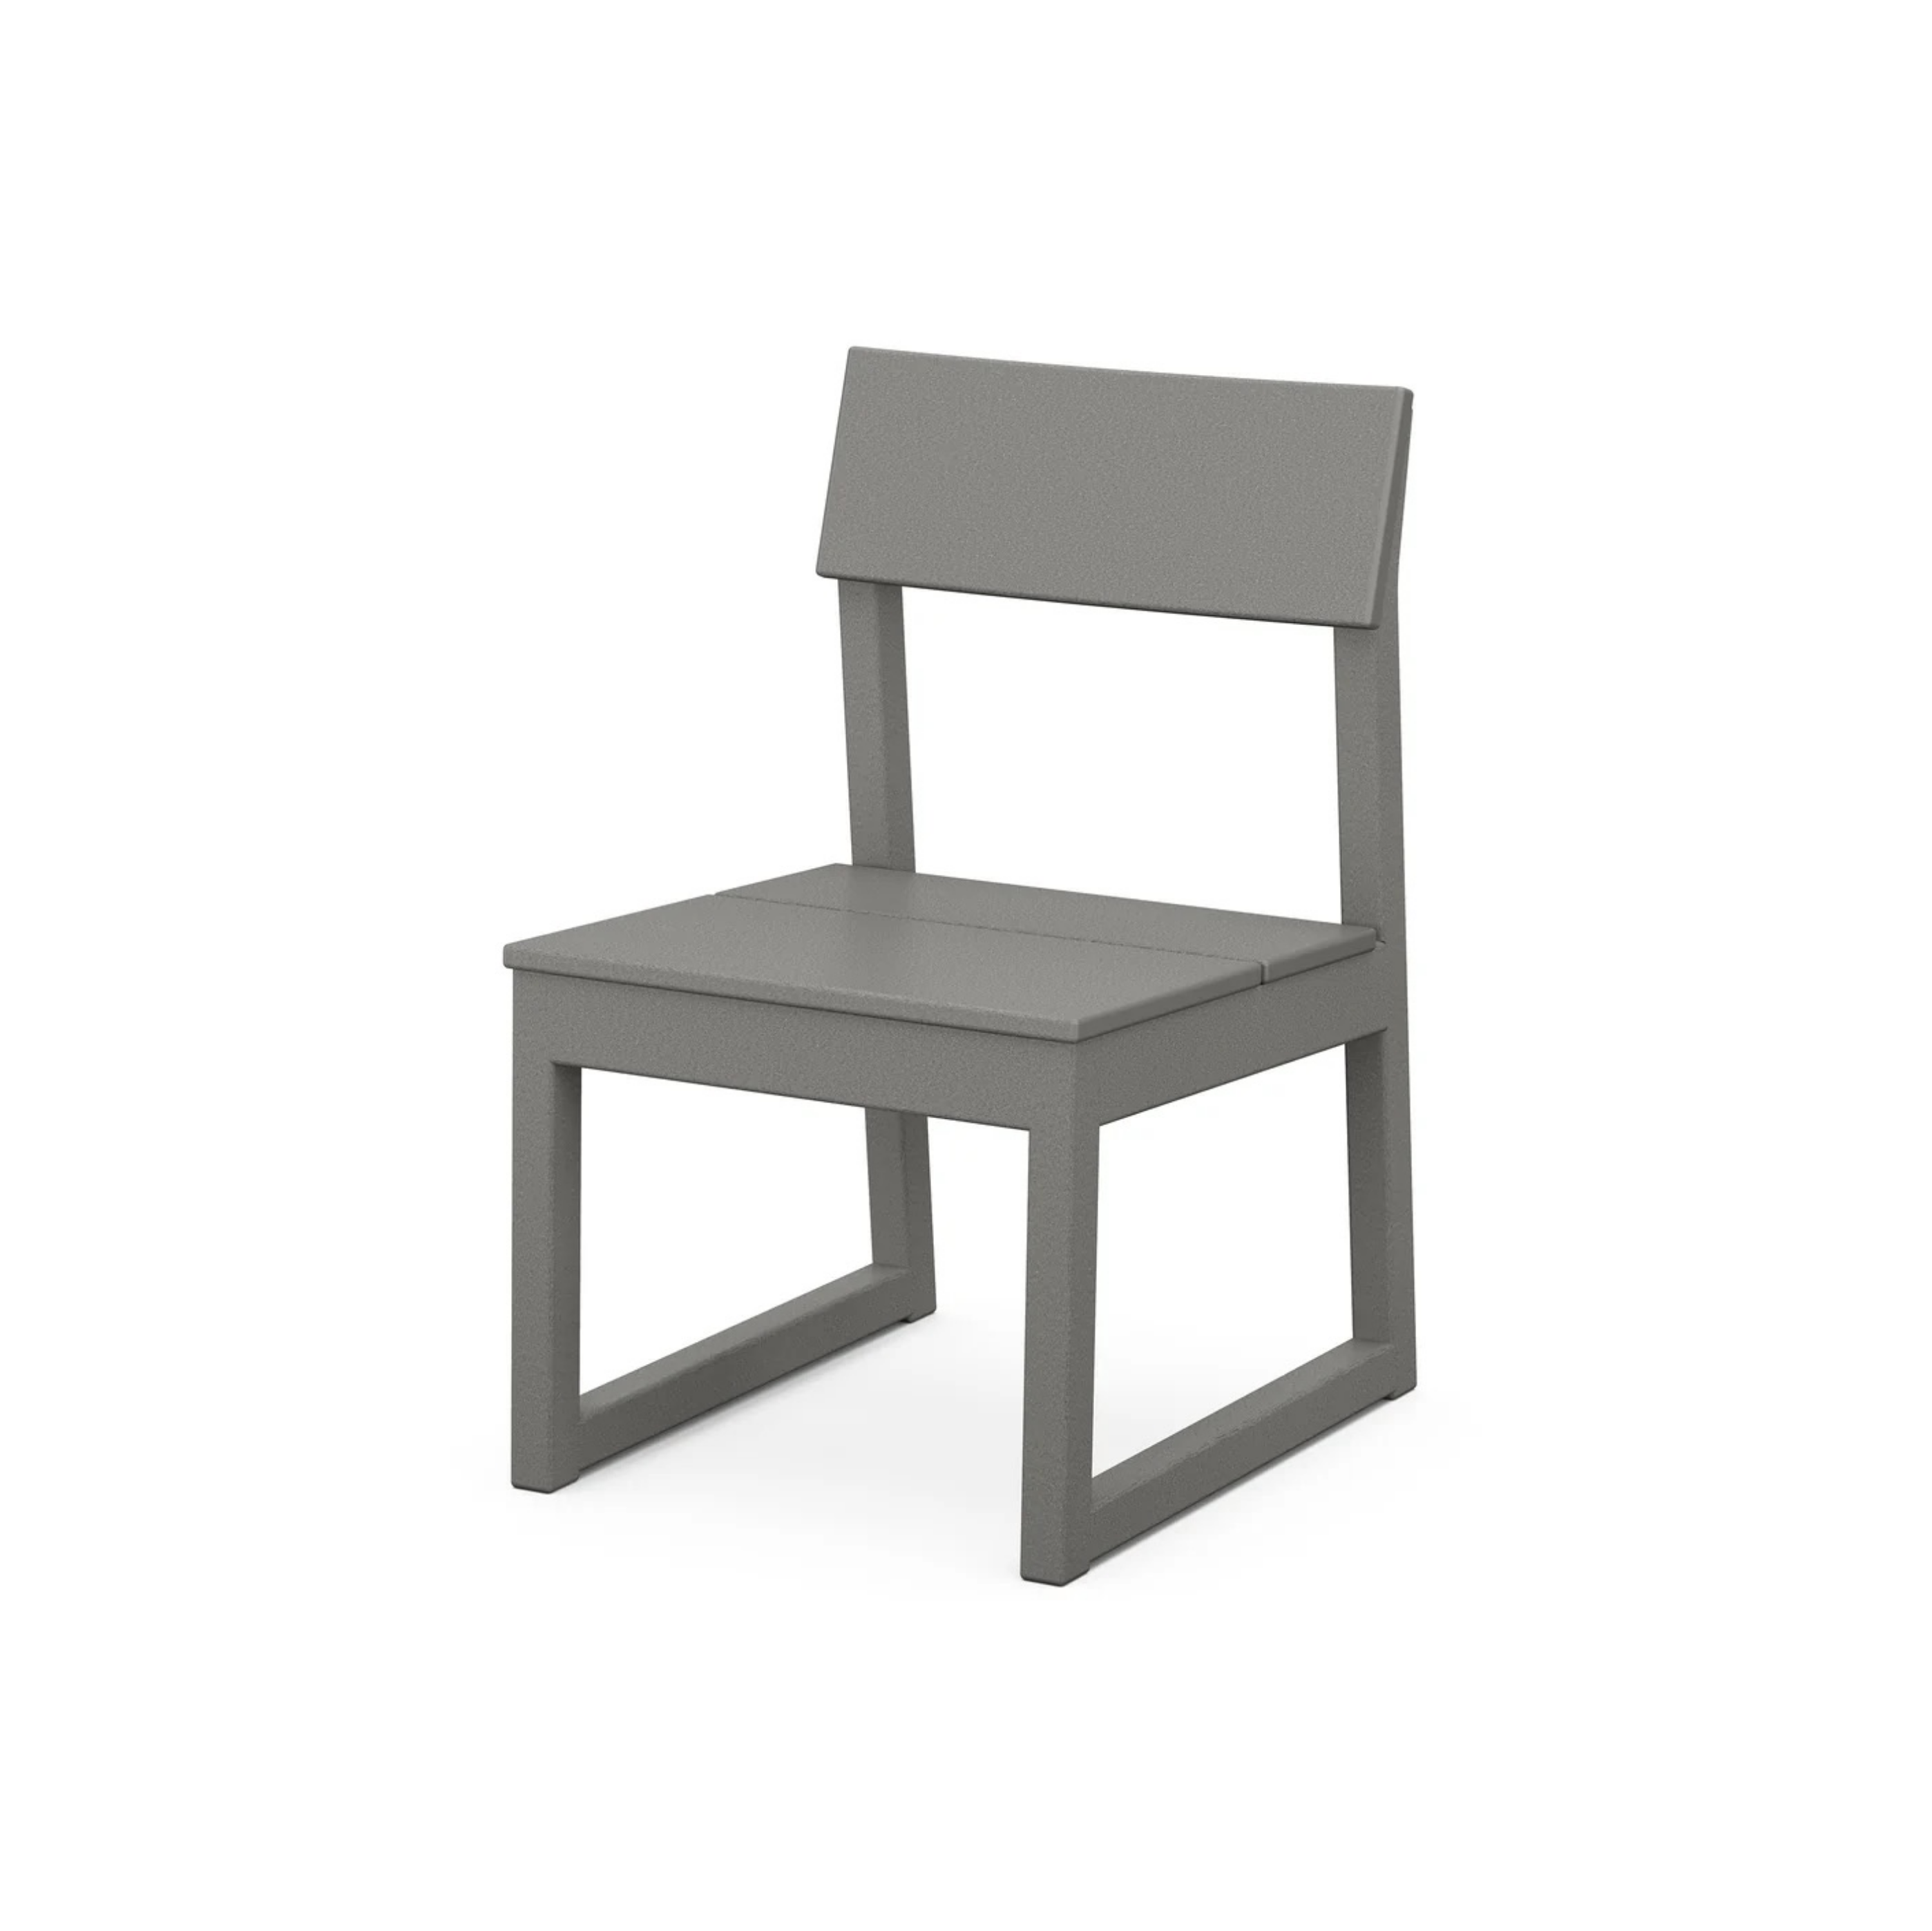
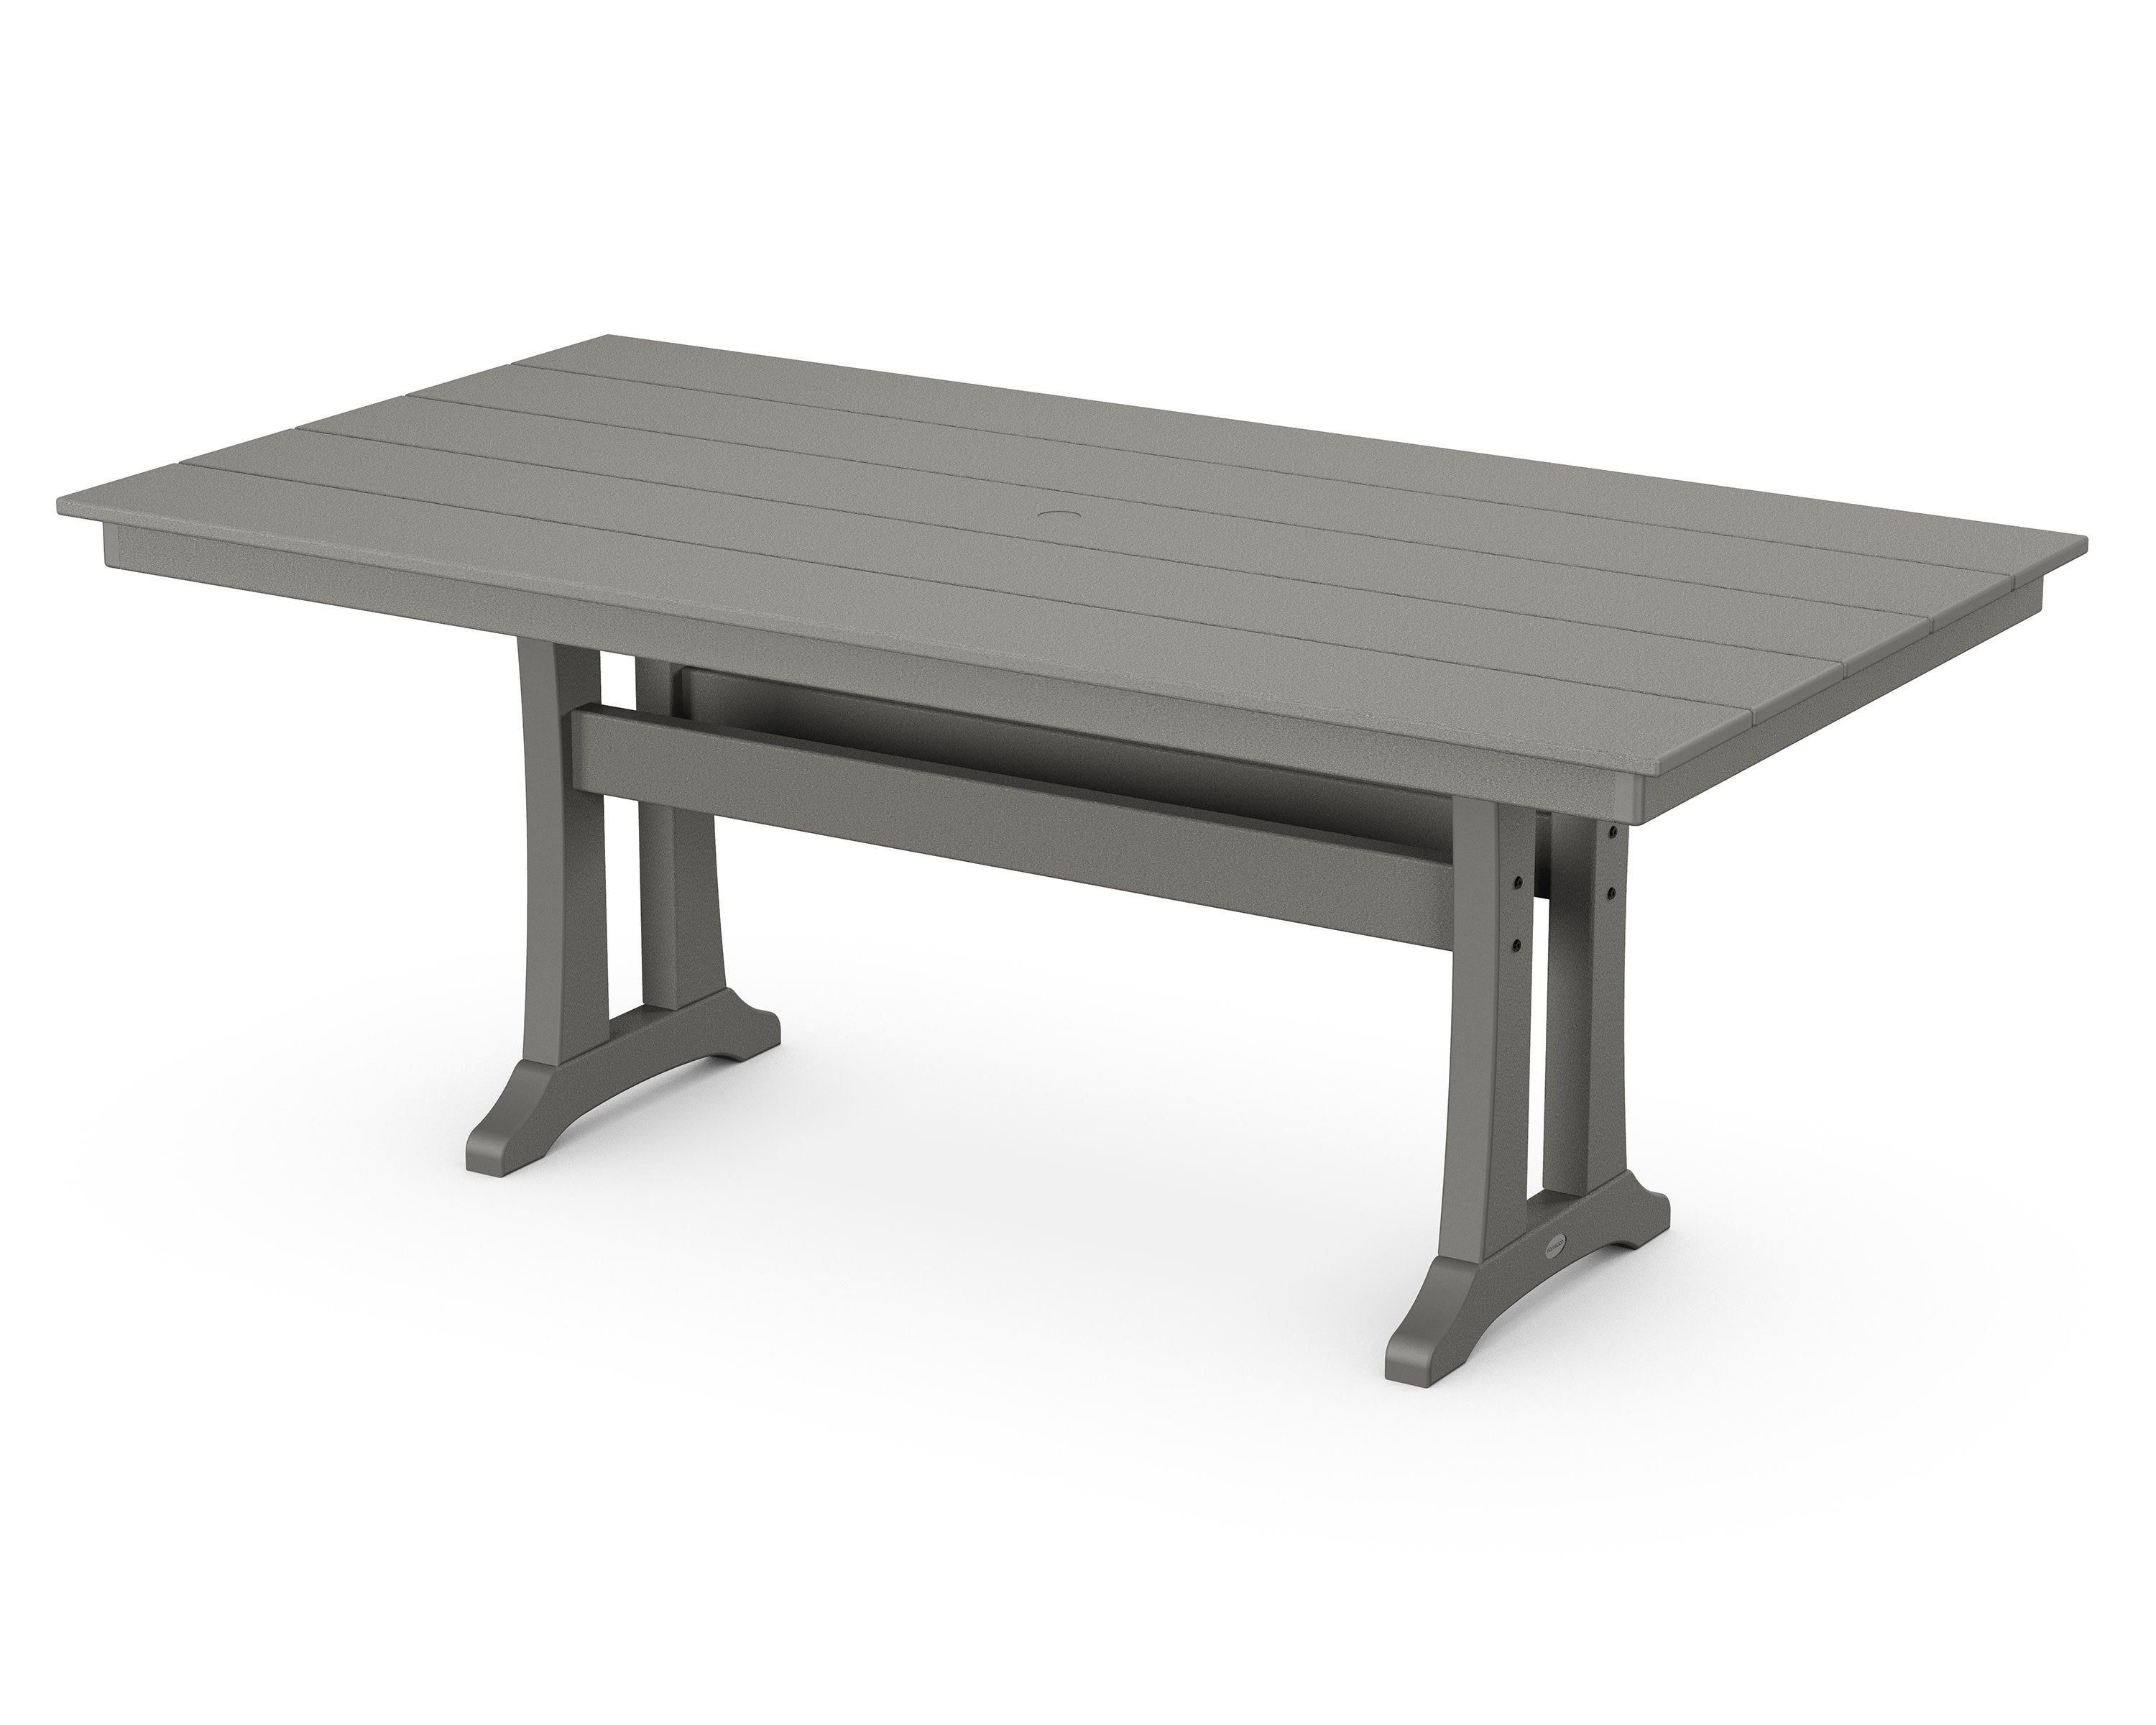
If you have room, add more furniture to create a space for gathering. Your covered porch will look extra welcoming when adorned with your outdoor swing and a coordinating five-piece dining set nearby. If you don't have overhead support, you can also consider a porch swing set with a stand for flexible placement.

Inviting Accents
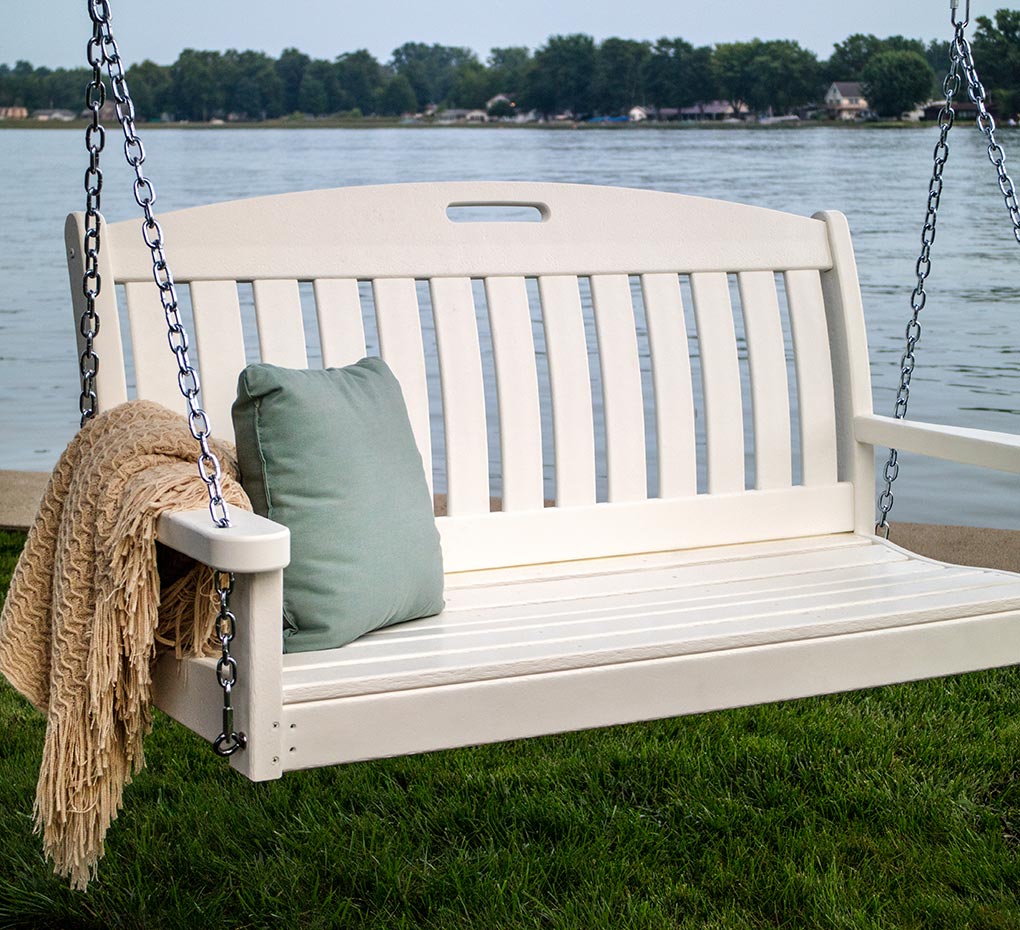
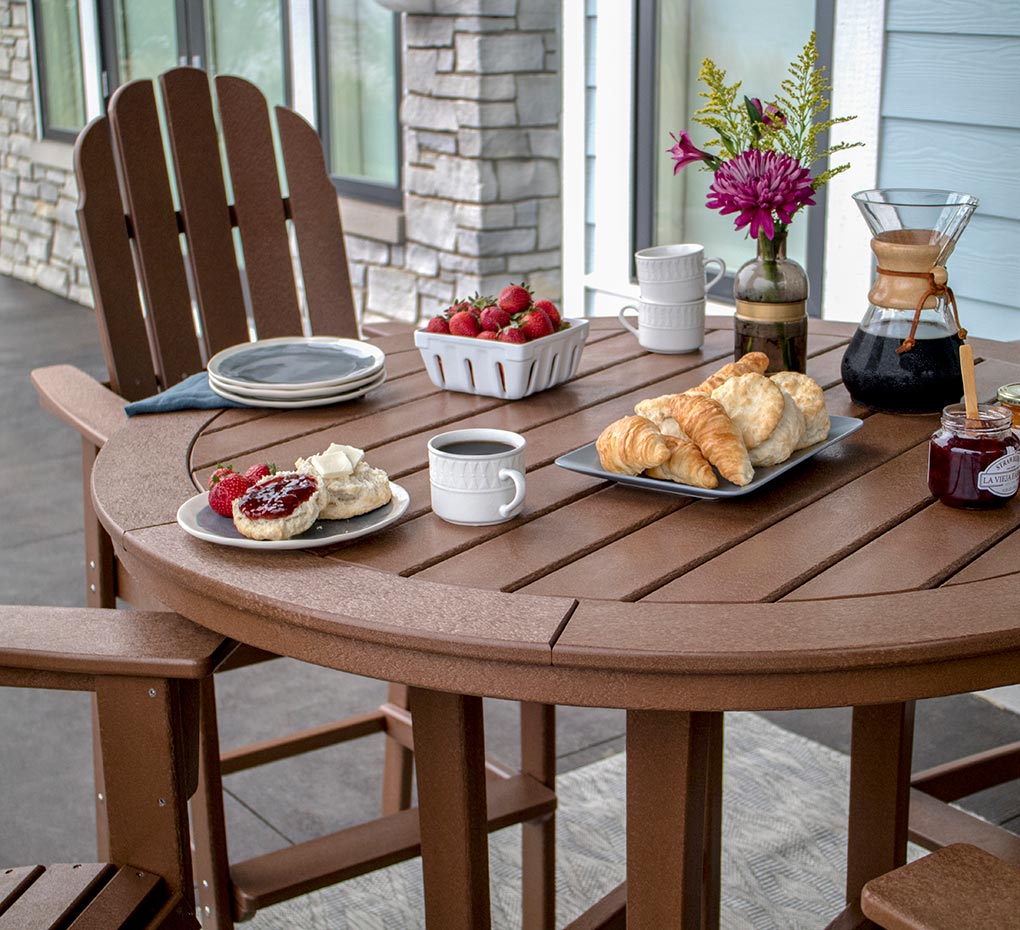
Outdoor cushions, throw pillows, and blankets add color, comfort, and coziness to any outdoor seating.

Style by Climate
If you own a home in coastal or desert locales, we recommend choosing decor that fits the natural environment. For example, a tranquil blue, green, and beige palette paired with bleached and natural oak finishes works well in oceanside abodes. Southwestern-inspired patterns and upholstery in earth tones complement the warm landscapes surrounding desert dwellings.

Seasonal Themes
Update the look of your space when the seasons change—from floral-forward accents for spring and summer to pumpkins and plaid blankets in the fall.

Choosing the Right Porch Swing & Next Steps
Now that you know how to hang a porch swing and have plenty of style inspiration, start shopping!
Explore our full collection of traditional, deep seating, and daybed swings to find the right size, material, and setup for your space.
FAQs
Can I hang a porch swing myself?
Yes, you can hang your own porch swing. This will cut costs since you’re not hiring help. That being said, this is more of an advanced project, and you'll need the proper knowledge and resources to ensure a job well done the first time around. Also, swings are quite heavy, so for efficiency and safety, have a friend or family member help you with installation.
How much weight can a porch swing hold?
The average porch swing's weight capacity is 550 pounds. This number will fluctuate depending on the swing's size, material, and hanging hardware. If you want a stronger setup, look for frames constructed with durable materials like high-density polyethylene (HDPE) or teak wood and hanging hardware made from galvanized steel or marine-grade quality unmanila.
How far off the ground do you hang a porch swing?
A traditional porch swing should hang about 17 inches off the ground. This allows most guests' feet to reach the floor. If you have tall family members, 18–24 inches is the standard range for hanging heights.
How much does it cost to have a porch swing hung?
The cost of hiring professionals to hang your porch swing will range between $200 and $2,000. The price will change based on a few factors:
Materials and tools needed
Project completion time
Support structure construction or reinforcement
Assembly and installation needs
Is rope or chain better for a porch swing?
Both ropes and chains are good for supporting porch swings, and each has its own pros and cons.
Rope has a soft aesthetic and tactile appeal. Due to its elasticity, it offers a smoother swinging motion. Synthetic ropes made from unmanila and similar materials are highly durable and weather-resistant. However, ropes made from natural fibers tend to need regular care and are more prone to damage.
Chains are durable, resistant to weather, and level easily, but they may be noisy and cause discomfort if not properly coated.


