Soap suds and water droplets cover an orange chair. The text, POLYWOOD Outdoor Spring Cleaning Checklist, overlays the image.

The Ultimate Outdoor Spring Deep Cleaning Checklist

Written by: Caitlin Evans

|

Published on

|

Last updated on

|

Time to read 11 min

Spring Cleaning Series: Part 3 of 3

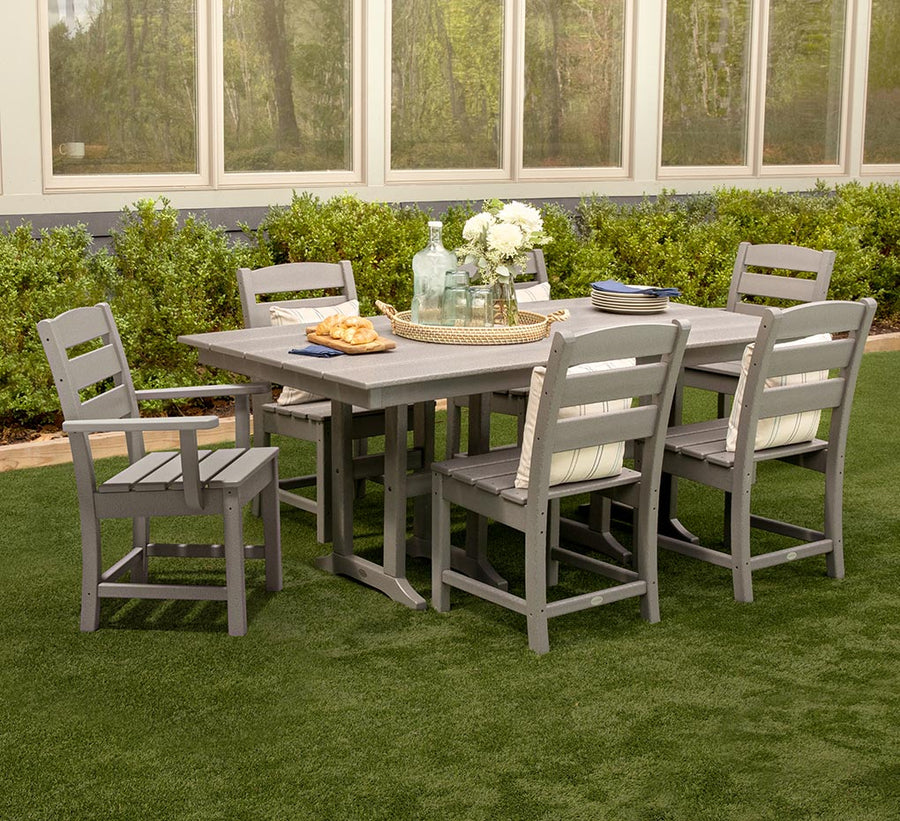
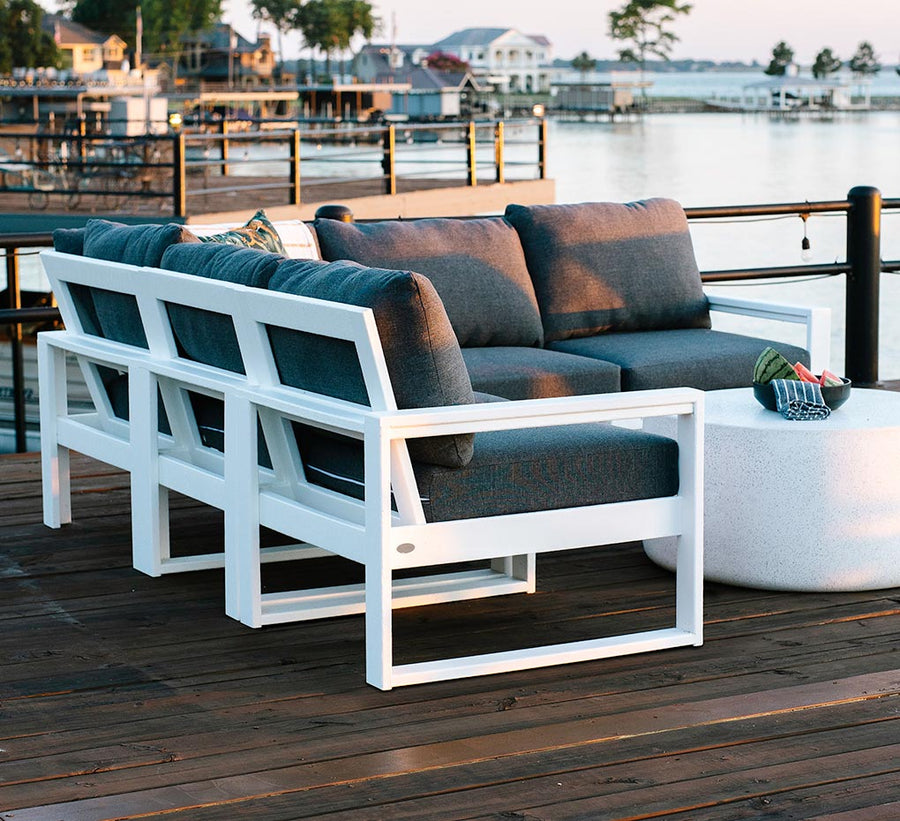
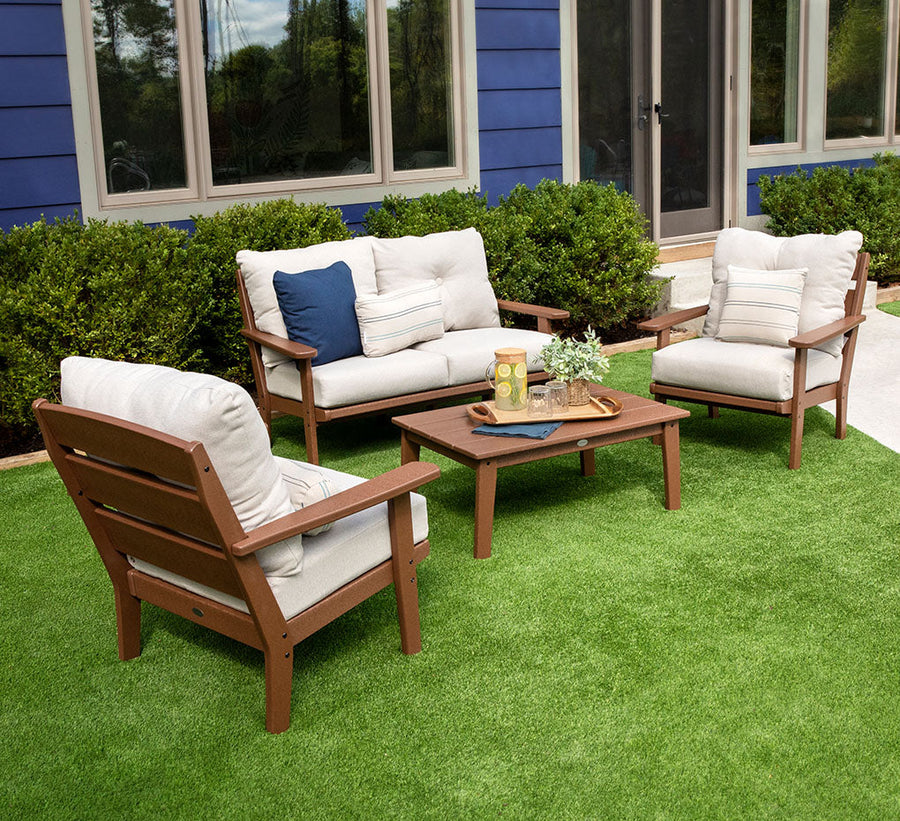
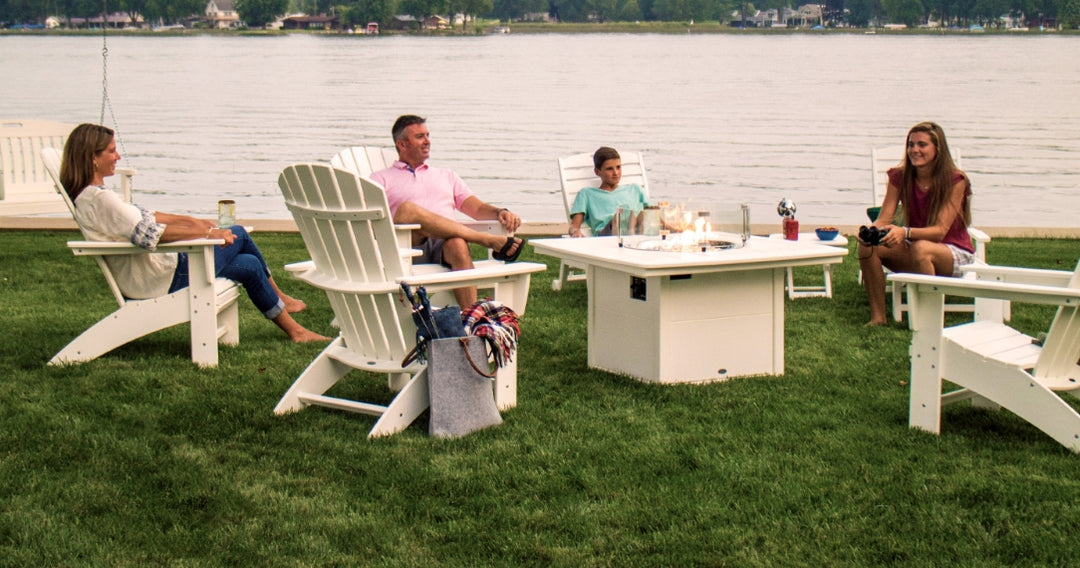
Many of us see spring as the time to refresh our homes after the winter weather wanes. If your to-do list only contains indoor chores, add your outdoor spaces to the mix, so your entire home is ready for the season.

Not sure where to start? We’ve created an outdoor deep spring cleaning checklist you can follow. We’ve broken it down into sections to streamline and de-stress the cleaning process.

Before you start cleaning, we recommend completing the following tasks:

  • Check the warranty and care instructions for any items you own, and follow the suggested cleaning methods.
  • When working with harsh chemicals and pressure washers, always wear goggles, gloves, a facemask, boots, and ear protection.*
  • Block off your work area so curious kids and pets can't wander in by mistake.

*NOTE: Some of the cleaning methods below include bleach. If you prefer a natural alternative, we recommend undistilled white vinegar.

Spring Deep Clean by Outdoor Furniture Material

High-Density Polyethylene (HDPE)

Supplies Needed


  • Pressure washer (rated no higher than 1,500 psi) equipped with a 40-degree fan tip
  • Mild dish soap
  • (Optional) Liquid bleach
  • Plastic bucket
  • Soft-bristle brush
  • Garden hose with spray nozzle
A scrub brush with soap suds cleans the armrest of an orange Adirondack chair.

Instructions


  1. Pressure wash all areas with slow, even sweeps, keeping the nozzle about eight inches from the surface.
  2. Mix dish soap, bleach, and water in a bucket—we recommend one part bleach to two parts water. The dish soap amount doesn’t need to be exact.
  3. Apply the soapy water to the lumber and let it sit for a few minutes.
  4. Scrub dirt and debris from the surfaces with the soft-bristle brush.
  5. Rinse with clean water and let your furniture air-dry.

Aluminum

Supplies Needed


  • Pressure washer (rated no higher than 1,500 psi) equipped with a 25- or 40-degree fan tip
  • Garden hose with a spray nozzle
  • Mild dish soap
  • Plastic bucket
  • Sponge or washcloth
  • A mild solvent such as mineral spirits

Instructions


  1. Hold the nozzle about eight inches from the surface. Slowly spray the aluminum in even, sweeping strokes.
  2. Mix dish soap and water in the bucket.
  3. Scrub the aluminum with soapy water and the sponge or cloth.
  4. Apply the solvent to tough stains with the sponge or cloth and gently rub until they're removed.
  5. Rinse your furniture thoroughly with clean water and let it air-dry.

Natural Wicker

Supplies Needed


  • Dry vacuum cleaner
  • Soft-bristle paintbrush
  • Handheld steam cleaner
  • Plastic bucket
  • White vinegar
  • Mild dish soap
  • Clean cloth
  • Clean towel

Instructions


  1. Remove any cushions.
  2. Vacuum the wicker to remove dirt, and use the paintbrush to get in the hard-to-reach spots.
  3. Use the steam cleaner—sparingly and at a safe distance—to tackle tough areas.
  4. Mix vinegar, soap, and water into the bucket.
  5. Gently spot-clean the wicker with the soapy solution and cloth, avoiding oversaturation to protect the fibers.
  6. Towel-dry right away and let your furniture fully dry in a shaded, well-ventilated space before replacing the cushions.

Resin Wicker

Supplies Needed


  • Dry vacuum cleaner
  • Paintbrush
  • Garden hose with spray nozzle
  • White vinegar
  • Mild dish soap
  • Plastic bucket
  • Soft-bristle brush
  • Toothbrush
  • Clean towel
On a rustic cabin

Instructions


  1. Before cleaning, remove any cushions.
  2. Sweep away debris with your vacuum and use the paintbrush to reach hard-to-reach areas.
  3. Mix dish soap, water, and a splash of vinegar in the bucket.
  4. Gently scrub the wicker with the soapy water and soft-bristle brush, and reach tight spots with the toothbrush.
  5. Rinse with clean water and towel-dry. Let your furniture dry fully before replacing the cushions.

Marine-Grade Resin

Supplies Needed


  • Mild dish soap
  • 5-gallon plastic bucket
  • Soft-bristle brush
  • Pressure washer rated no higher than 1,500 psi with a 25- or 40-degree fan tip
On a rustic cabin
Featured: Laguna In-Pool Chaise Lounge in White

Instructions


  1. Mix mild dish soap and warm water in a bucket.
  2. Scrub the soapy solution over your furniture with a soft-bristle brush.
  3. Rinse with clean water.
  4. Use a pressure washer to remove tough stains, mold, and mildew. Keep the nozzle 12 inches away and move it slowly in steady strokes.
  5. Allow furniture to fully air-dry before use.

Wood

Supplies Needed


  • Dry vacuum cleaner or cloth
  • Garden hose with spray nozzle
  • Mild dish soap
  • Soft-bristle brush
  • (Optional) medium-grit sandpaper (100 to 150 grit)
  • Leaf blower or tack cloth
  • Hardwood oil, exterior paint, or wood stain
  • Foam paintbrush

Instructions


  1. Remove dirt and debris with the vacuum or cloth.
  2. Mix mild soap and water in a bucket.
  3. Apply the soapy solution to the frame with the brush—scrub with the grain.
  4. Rinse with fresh water from a bucket or garden hose.
  5. If needed, lightly sand the surfaces to remove stains or weathering.
  6. Remove residual dust with the leaf blower or tack cloth.
  7. Apply your chosen protective finish with the foam brush, following the product's instructions.
  8. Let the finish cure for 24 to 72 hours before replacing your furniture.

Wrought Iron

Supplies Needed


  • Pressure washer (rated no higher than 2,000 psi) equipped with a 15- or 25-degree fan tip
  • Wire brush
  • Garden hose with spray nozzle
  • Mild dish soap
  • Clean cloth
  • Toothbrush
  • Touch-up paint

Instructions


  1. Hold the pressure washer's nozzle six to eight inches from the surface. Spray in slow, sweeping strokes to strip off rust or paint.
  2. Scrub off any remaining rust with the wire brush.
  3. Mix dish soap into a bucket of water.
  4. Wipe away dirt with the cloth and soapy solution. Use the toothbrush in tight curves and small spaces.
  5. Rinse your furniture with clean water and let it air-dry completely.
  6. To prevent rust, cover chipped areas with touch-up paint and allow it to cure for at least 24 hours before using your furniture.

Injection-Molded Plastic

Supplies Needed


  • White vinegar
  • Baking soda
  • Mild dish soap
  • Plastic bucket
  • Soft-bristle brush
  • Garden hose with spray nozzle
  • Plastic restorer spray
  • Clean cloth

Instructions


  1. Mix water and small amounts of vinegar, baking soda, and soap in the bucket.
  2. Use the brush to scrub the soapy solution over the furniture, taking extra time on dull or stained areas.
  3. Rinse with clean water.
  4. Allow your furniture to dry completely.
  5. Spray the restorer evenly onto the surfaces and buff with the cloth.

Deep Cleaning Outdoor Accessories

Keep your outdoor accessories clean with the following methods.

Cushions and Pillows

IMPORTANT: Always verify the manufacturer's instructions before using bleach on fabric to ensure it is safe.

Supplies Needed


  • Dry vacuum cleaner
  • Garden hose with spray nozzle
  • Bleach or laundry detergent
  • Mild dish soap
  • Plastic bucket
  • Soft sponge
  • Soft-bristle brush

Instructions


  1. Use the vacuum to remove dirt and dust from the fabric.
  2. Rinse the cushions with clean water.
  3. Mix one-quarter cup of dish soap and one cup of bleach (or detergent) per gallon of water in the bucket.
  4. Dip a sponge into the soapy water and scrub the fabric.
  5. Let the solution soak in for about 10 minutes, then rinse thoroughly.
  6. Stand cushions and pillows on their sides to dry with zippers facing down—it helps water drain faster.
POLYWOOD Outdoor Lumbar Pillows and 16 Inch Outdoor Throw Pillows in Safari Pistachio and Wild Game are arranged on a sofa.

Umbrellas

Supplies Needed


  • Dry vacuum cleaner
  • Garden hose with spray nozzle
  • Mild dish soap
  • Plastic bucket
  • Soft-bristle brush

Instructions


  1. Open your umbrella and lay it on its side.
  2. Remove debris with the vacuum.
  3. Rinse with clean water.
  4. Mix a bit of soap with water in the bucket.
  5. Apply the soapy solution to both sides of the umbrella’s canopy and base and let it soak for a few minutes.
  6. Rinse the umbrella with clean water.
  7. Leave the canopy open and let it air-dry.
A brown POLYWOOD EDGE 7 Piece Dining Set with a beige umbrella and seat cushions sits on a pea gravel area by a modern house.

Deep Cleaning Methods for Outdoor Floors

Roll up your sleeves and follow these instructions to clean your porch, patio, or deck floors.

Wooden Deck

IMPORTANT: When using paint strippers and other harsh chemicals, follow the manufacturer’s instructions on product labels to see the proper amounts.

Supplies Needed


  • Leaf blower or long-handled broom
  • Garden hose with spray nozzle
  • Oxygen bleach or lye-free deck cleaner
  • Pressure washer rated no higher than 1,200 psi
  • 40-degree fan tip
  • Oxalic acid deck brightener
  • Hard-bristle brush
POLYWOOD Coastal Chaises with Wheels in White with White sling fabric are lined up on a deck with pots of yellow flowers.
Featured: Coastal Chaise with Wheels in White/White

Instructions


  1. Remove leaves and debris with the leaf blower or broom.
  2. Mix the oxygen bleach or deck cleaner according to the product's instructions.
  3. Attach the fan tip to the pressure washer’s wand.
  4. Spray the cleaning solution onto railings and balusters, working from the top down in a controlled, continuous motion. Keep the nozzle about eight inches from the surface.
  5. For the floorboards, spray one board at a time in slow, sweeping motions.
  6. Rinse thoroughly with clean water.
  7. Mix the deck brightener according to the product's instructions.
  8. Apply the brightener following Steps 4–6.
  9. Rinse thoroughly with clean water and allow the deck to air-dry completely.

Concrete Patio

IMPORTANT: When using concrete degreasers and other harsh chemicals, follow the manufacturer’s instructions on product labels to see the proper amounts.

Supplies Needed


  • Leaf blower or long-handled broom
  • Garden hose with spray nozzle
  • Mild dish soap
  • Stiff-bristle push broom
  • Concrete degreaser
  • White vinegar
  • Pressure washer rated no higher than 3,000 psi
  • 15- or 25-degree fan tip

Instructions


  1. Remove debris with the leaf blower or broom.
  2. Mix dish soap into a bucket of water.
  3. Scrub soapy water onto the concrete with the push broom.
  4. Rinse the area with clean water.
  5. For grease or oil stains, apply the degreaser as directed in the product's instructions.
  6. Scrub the area with the broom, then rinse again with clean water.
  7. For mildew or mold on unsealed concrete, pour white vinegar on the impacted area and let it sit for a few minutes.
  8. Scrub the area with the push broom and rinse with clean water. 
  9. Attach a fan tip to the pressure washer and spray the concrete in slow, sweeping motions, keeping 12–18 inches away from the surface.
  10. Let the concrete dry completely before replacing furniture or applying a sealer.

Composite Decking

Supplies Needed


  • Leaf blower or long-handled broom
  • Garden hose with spray nozzle
  • Mild dish soap
  • Plastic bucket
  • Soft-bristle brush or stiff-bristled push broom
  • Pressure washer (rated no higher than 1,500 psi) equipped with a 40-degree fan tip

Instructions


  1. Clear away leaves and dirt with the leaf blower or broom.
  2. Mix a bit of soap and water in the bucket.
  3. Scrub the soapy water onto each board with the brush or broom.
  4. Rinse the area with clean water.
  5. Use the pressure washer to spray each board in slow, even sweeps, keeping the nozzle at least eight inches from the surface.
  6. Rinse the entire area with clean water and let it air-dry.

How to Deep Clean House Exteriors

Get your home’s exterior sparkling with these deep cleaning instructions. 

Glass Doors and Windows

Supplies Needed


  • Garden hose with spray nozzle

  • Mild dish soap

  • Plastic bucket

  • Sponge

  • Squeegee

Instructions


  1. Rinse loose dirt from the glass with the garden hose. 
  2. Mix soap and water in the bucket. Wash the glass with soapy water and the sponge. 
  3. Rinse thoroughly with clean water. 
  4. Wipe away water with the squeegee. 
  5. Move from top to bottom, and wipe the blade between passes.

Siding

IMPORTANT: This method works on many types of siding, including wood, vinyl, and others. However, pressure washer psi levels will differ depending on the material. Check manufacturer recommendations before cleaning.

Supplies Needed


  • Garden hose with spray nozzle

  • Mildewcide

  • Garden sprayer

  • Soft-bristle siding brush

  • Pressure washer (use the appropriate psi level for your siding type) equipped with a 25- or 40-degree fan tip

Instructions


  1. Spray siding with the hose to remove loose dirt and debris. 
  2. Mix the mildewcide according to the product instructions in the garden sprayer. 
  3. Test the cleaner in an inconspicuous area first to ensure it won’t harm the siding. 
  4. Spray your siding with the mildew solution straight on (not at an upward angle), starting from the bottom and working up. 
  5. Scrub the siding with the soft-bristle brush. 
  6. Rinse from the top down with the pressure washer. To prevent damage, select the appropriate psi level and fan tip, keep the wand at least three feet away, and move in smooth, even strokes. 
  7. Allow the siding to air-dry completely before replacing decor and fixtures.*

*NOTES: 

  • Avoid cleaning siding in direct sunlight to prevent rapid drying or streaking. 
  • If you have nearby plants or landscaping, move or cover them with a breathable fabric drop cloth beforehand. 
  • Prolonged moisture exposure on wood siding can lead to mold growth.

Pressure Washer Tips

Pressure washers are used in many deep spring cleaning checklists in this guide, so we dedicated a section to safely using these powerful tools.

Which Materials Can Be Pressure Washed?

Browse the chart below to see which materials are safe to pressure wash and which are not.

A chart displays information about which materials are safe to pressure wash and which are not.

Know Your Pressure Washer Nozzle

Pressure washers typically come with multiple color-coded nozzle heads you can attach to the spray wands. The different colors indicate the nozzles’ spray pattern degrees, so you can quickly pick the correct one for your outdoor project. Use the handy chart below for easy nozzle navigation.

A graphic displays information about different pressure washer nozzle colors, spray patterns, and correct uses.

Safety Tips

  • Do not use a ladder when pressure washing siding, as the recoil can cause you to lose balance. Instead, use scaffolding for a safer way to reach high spots.
  • Always spot-test and check the results before cleaning the entire surface to ensure you're using the proper setting on your pressure washer.
  • Use the correct psi when cleaning with your pressure washer.
  • Do not spray surfaces at an angle.
  • Always wear gloves, goggles, boots, a face mask, and ear protection when using a pressure washer.

FAQs

What’s the difference between a deep clean and a spring clean?

A deep clean is a thorough scrub session you can perform when you have an item or space in dire need of tidying up. It takes more time, extra steps, and additional equipment to deep clean something since you're addressing all of it—including the nooks and crannies often skipped during routine cleanings. A spring clean is performed after the winter season ends to refresh spaces. Both are more involved than a standard cleanup. 

What do you throw away during spring cleaning?

When spring cleaning, throw away expired or damaged items. This includes treated or rotted wood, old lightbulbs, and broken glass. If you have things you no longer use that are still in good shape, like gardening tools or plastic planters, donate or recycle them.

What month should you start spring cleaning?

March is typically the month when homeowners start spring cleaning outside. However, if you live in a colder climate and see disagreeable weather during that time, there's no problem with waiting a little longer. On the other hand, if you live in an area with pleasant weather before March, you can start spring cleaning early.

Explore More Cleaning Content

Caitlin-Evans-author-bio-photo

Caitlin Evans

Cait is an Indiana-based creative content writer who has been with POLYWOOD since 2020. She’s a Purdue alumna, a proud logophile (word nerd), and an advocate of the Oxford comma. In her free time, Cait loves gardening, cooking, running, camping, and spending time with her husband and four fur children.