
















 POLYWOOD
My Wishlist
Easily build your wishlists, or save them for later to add to the cart. Click here for details.
POLYWOODEasily build your wishlists, or save them for later to add to the cart. Click here for details.
Main Menu - Mobile
Indoor-outdoor living is not a new concept, but certain features and clever design choices make connecting your interior and exterior spaces much more seamless. Case in point: pergolas.
These slatted outdoor shade structures date back to ancient Egypt, where wooden designs beautified temples and gardens. Since then, pergolas have only gotten more useful — and more interesting. That can be credited to new, more durable materials, diverse designs and styles, convenient pre-built pergola kits, and comfort-focused accessories.
If you’re pondering a pergola for your backyard, look to this guide for help. We cover pre-purchase considerations, pros and cons, various types, and other useful information that can help you make the right decision.
Plus, you can examine POLYWOOD all-weather pergolas in detail here. All the information and answers to your questions about the newest addition to our product line are below. Let’s explore!

In This Article
Whether you shop POLYWOOD or elsewhere for a pergola kit, you’ll need to be privy to a few key items.
You’ll need a certain set of skills to properly install your pergola — a knack for carpentry, power tool know-how, etc. If you don’t have this experience, save time and stress by hiring professional contractors to complete the project for you.
If you choose a POLYWOOD pergola, you can opt for White Glove Delivery when placing your order. This all-inclusive service includes delivery, assembly, professional installation, and removal of all packaging materials.
If you plan to DIY, we recommend enlisting the help of a friend (or two) and setting aside a few hours to complete the build.
And in addition to pergola building materials, you’ll need a mix of tools at your disposal:
Check with your local planning, zoning, and building departments to find out what (if any) permits are required. And if your neighborhood has an HOA, look over the covenant to see if pergolas are allowed.
If installation requires digging, it’s crucial to know where gas pipes, sewer lines, electricity cables, and other buried utilities run on your property. Avoid dangerous accidents and costly repairs by hiring a utility company or your local municipality to locate and mark underground utilities before you dig.
At least three feet of clearance is recommended on all sides of a pergola to accommodate wheelchair users and allow ample room to walk.
Get an in-depth look at how to pick a pergola that fits your home.


|
Material |
Key Benefits |
Considerations |
Maintenance |
Best Climates |
Not Ideal For |
|
High-Density Polyethylene (HDPE) |
Durable; resistant to weather, fading, cracking, and splintering; made from recyclable materials |
Pre-made designs don’t allow much customization |
Very low | Coastal, humid, cold, dry, and high-UV areas |
Ideal for all climates and aesthetics; may not fit tight budgets |
|
Aluminum |
Lightweight, rust-resistant, modern look |
Higher upfront cost; can get too hot to touch in prolonged exposure |
Low | Mild, dry climate |
Cold climates with heavy snowfall; natural, rustic, or traditional aesthetics |
|
Wood |
Natural look, design flexibility and customization, strong structural performance from hardwoods like ipe, teak, and black locust |
Requires regular refinishing; can warp, rot, or attract insects without upkeep |
High | Mild, dry climates |
Humid, coastal, or rainy environments; spaces where low upkeep is a priority |
|
Vinyl |
Clean, uniform appearance; resists moisture, insects, and rot; low-maintenance and budget-friendly; holds color well |
Limited customization; can expand/contract as temperatures change; not as strong as HDPE or wood |
Low | Moderate climates |
Hot climates, areas with heavy winds, rain, or snowfall; applications requiring higher structural strength |
High-Density Polyethylene (HDPE)
Aluminum
Wood
Vinyl
A pergola adds dimension to a space — which makes it more attractive and interesting — using height, light, layers, and zones.
Pergola roofs cut direct sunlight and heat, and the open sides allow the breeze to flow through, keeping you cool and comfortable on sunny days.
A well-built pergola visually creates a usable outdoor room, which can boost your home’s value. According to 2024 Zillow research data, properties with pergolas caught buyers’ eyes more than homes without them, receiving 20% more saves and 24% more shares per day on the real estate marketplace’s platform.
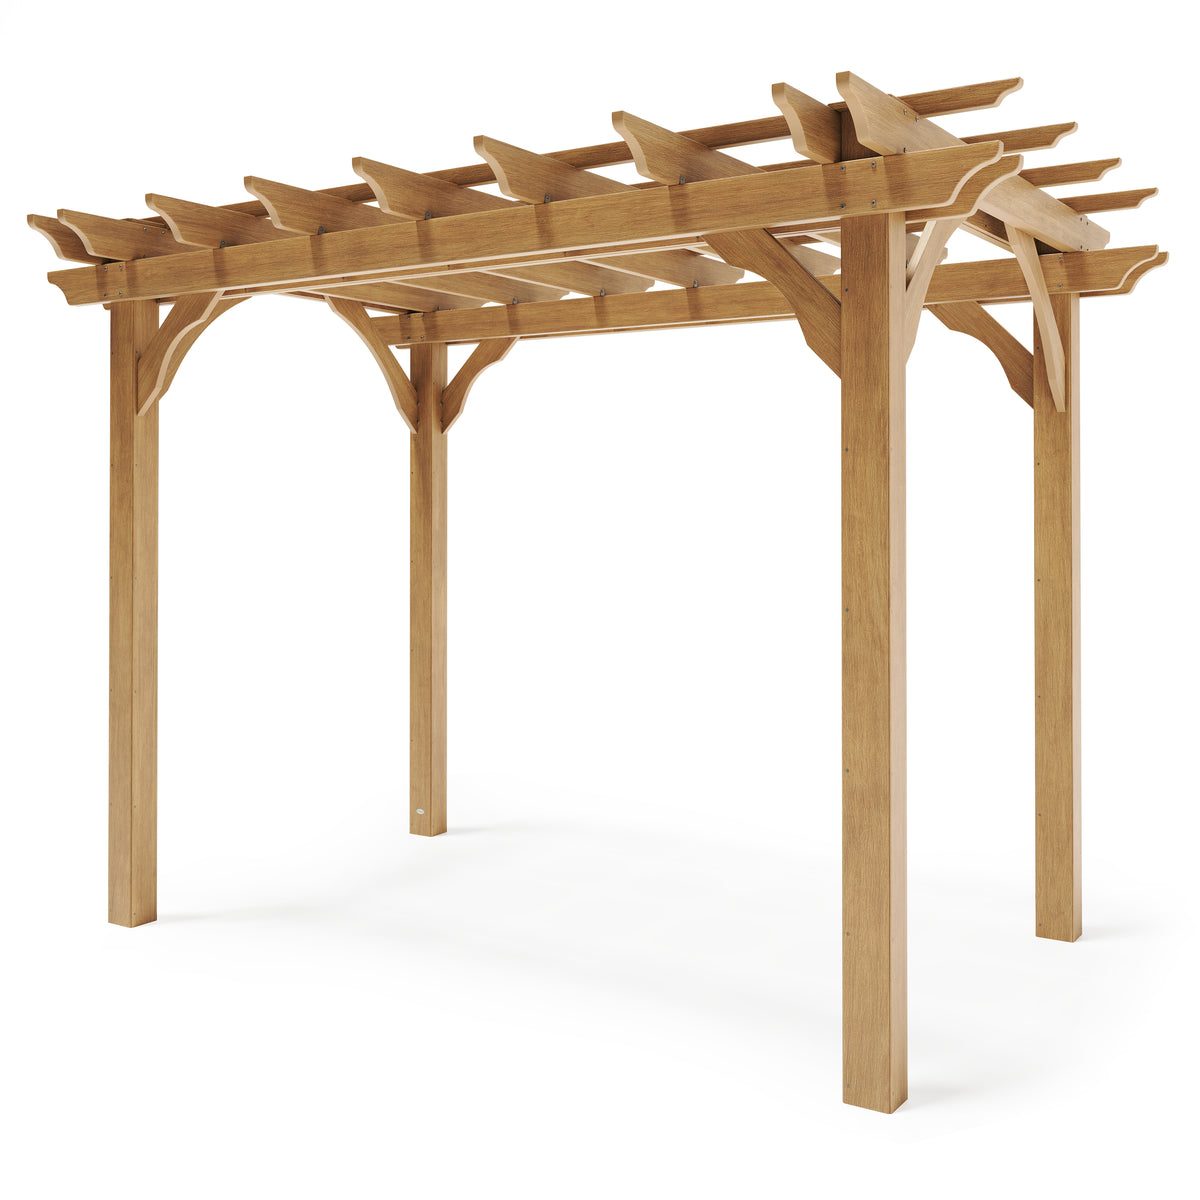
Our all-weather pergolas are made with reinforced POLYWOOD lumber. You’ll enjoy the same level of style, all-weather performance, and easy maintenance that comes with all of our products.
Our pergolas are currently offered in POLYWOOD Select™ Natural lumber, a warm golden brown with caramel graining details. As the name suggests, this color fits right in with the natural surroundings and translates beautifully to modern, rustic, traditional, and coastal homes.
POLYWOOD Select™ is our most innovative lumber yet. It’s engineered with Microcell™ technology, which is an innovative, compact microscopic structure for superior moisture resistance. And it features the POLYWOOD GenuineGrain™ finish, offering subtle variations in tone and tactile quality.


This style can stand on its own anywhere in your yard.
Best for: Any medium or large outdoor space
A semi-enclosed structure with solid or lattice-style wall panels for extra privacy.
Best for: Swimming pool areas, hot tubs, and intimate dining spaces
Designed to fit snugly in the corner of a yard, corner pergolas stand on three posts with a triangular roof.
Best for: Poolside patios and small areas with limited space
Unlike other designs, this pergola has a curved roof, which gives it an air of romance.
Best for: Winding walkways, gardens, and entrances
These small structures attach directly to exterior walls and don’t need posts for support.
Best for: Entrances, garages, breezeways, and windows
One or more sides of this shade structure connect to an exterior wall on your home.
Best for: Outdoor kitchens, dining spaces, and second-story decks
There are plenty of ways to put a pergola to work. Here are our favorite ideas.
The answer to this question depends on the pergola’s size, shape, and the type of furniture you want to use.
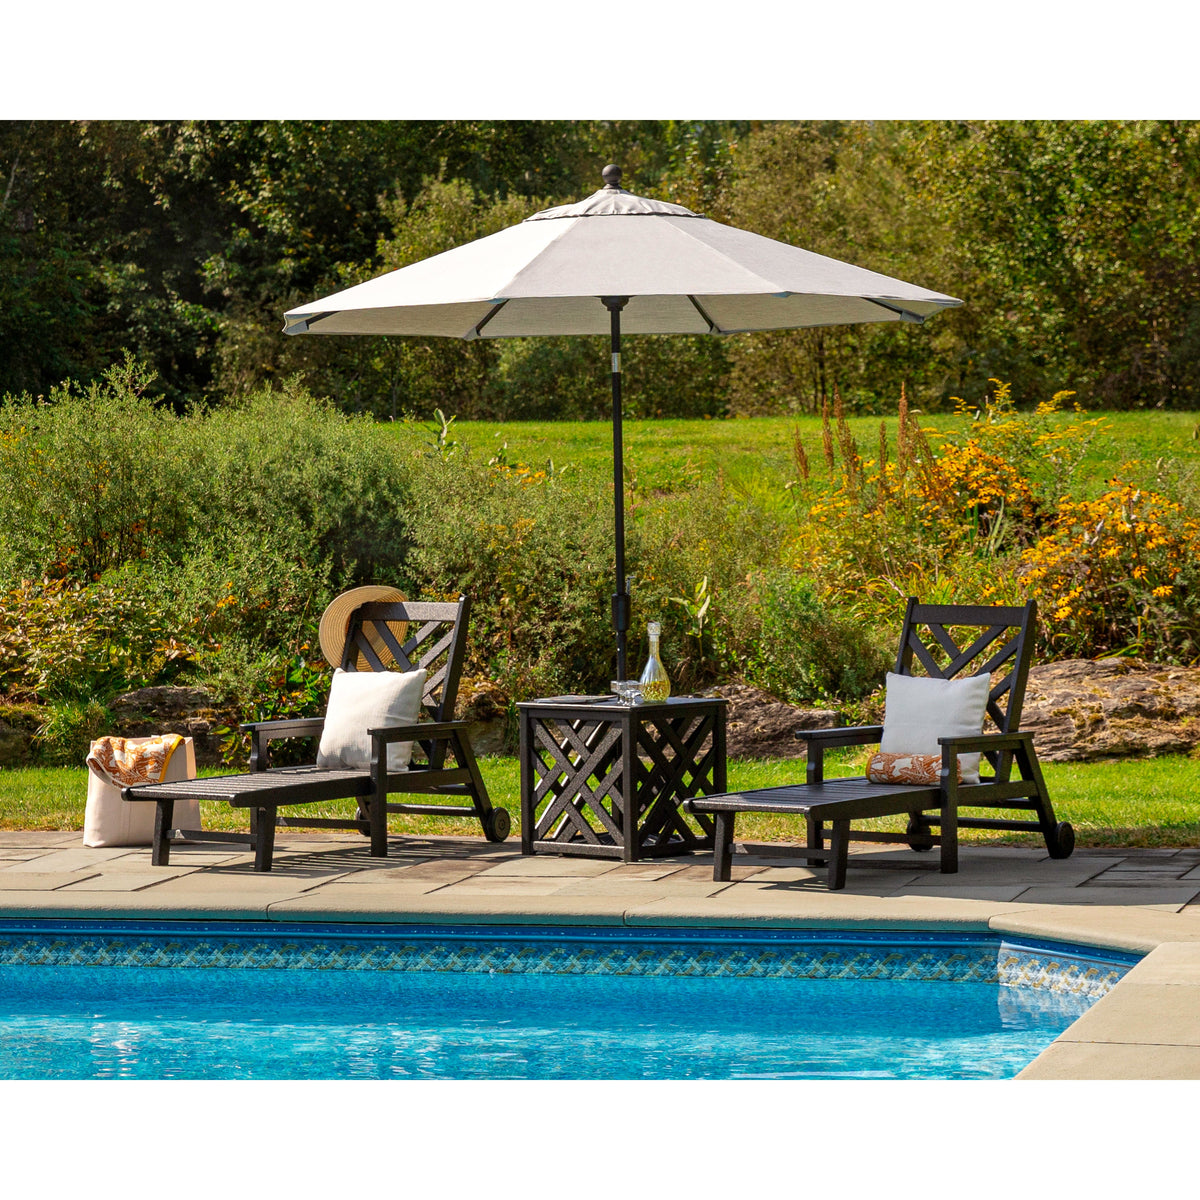
For example, POLYWOOD pergolas are offered in two sizes: 8’ x 12’ and 12’ x 12’. We always recommend leaving at least three feet of clearance around furniture in the spots you plan to use as walking paths, like in front of sofas and on the sides of chaise lounges.
Here are our recommended furniture setups:
Best Furniture for a Westgrove 8’ x 12’ Pergola
Best Furniture for a Westgrove 12’ x 12” Pergola


A pergola is an outdoor structure that provides partial shade and aesthetic appeal on decks, patios, and similar spaces. They have open sides for easy airflow, and vertical posts that support open-beam, lattice, or louvered roofs.
On average, the total cost of a pergola is roughly $4,200. The price changes depending on the size, materials, labor, and whether it’s a pre-made pergola kit or a custom build.
Building a pergola yourself is generally less expensive because you save money on labor. Pre-fab pergola kits give you a balance of convenience and cost. Custom pergolas are the most expensive due to labor and site-specific construction costs.
Pergola kits are less expensive and easier to install than custom builds, but cannot be tailored to meet specific design or size requirements. Custom pergolas are more expensive, but can be made to your exact specifications.
To properly anchor a pergola, gather the right tools and equipment, such as drills with masonry bits, wrench or socket sets, levels, tape measures, ladders, shovels, and mounting hardware. Then, choose the appropriate mounting method, which will differ based on the surface type.
Concrete Slab
Place the pergola’s posts in their desired locations on the concrete and mark the positions with tape or a pencil.
Drill holes into the marked spots.
Attach post brackets to the concrete with concrete screws or anchor bolts.
Slide each post into the brackets and secure them in place with bolts or screws.
Decking
Place the pergola’s posts in their desired locations on the deck's joist structure and mark their positions.
Fasten post brackets directly to the joists with heavy-duty screws or bolts.
Slide each post into the brackets and secure them in place with bolts or screws.
Pavers
Choose the preferred location of the pergola posts on the pavers and mark their locations.
Lift the pavers in each marked area to expose the base material or ground beneath.
Dig a hole beneath each paver with a shovel or post-hole digger — make sure they're deep enough to create footings that support the posts (at least six inches below the frost line).
Mix up some concrete and pour it into each hole. Let it cure fully — roughly 24 to 48 hours.
Anchor the brackets directly into the cured footings.
Connect the posts to the brackets with bolts or screws, then replace the pavers.
Leave at least two to four inches of horizontal space between the pergola’s head beam and your home’s exterior, and eight to 12 inches of vertical space between the top of your pergola and any gutters, soffits, and roof overhangs. This extra space ensures adequate air flow, prevents water leaks, and allows room for maintenance.

Caitlin Evans
Cait is an Indiana-based creative content writer who has been with POLYWOOD since 2020. She’s a Purdue alumna, a proud logophile (word nerd), and an advocate of the Oxford comma. In her free time, Cait loves gardening, cooking, running, camping, and spending time with her husband and four fur children.
Are you missing items in your cart? Sign In


